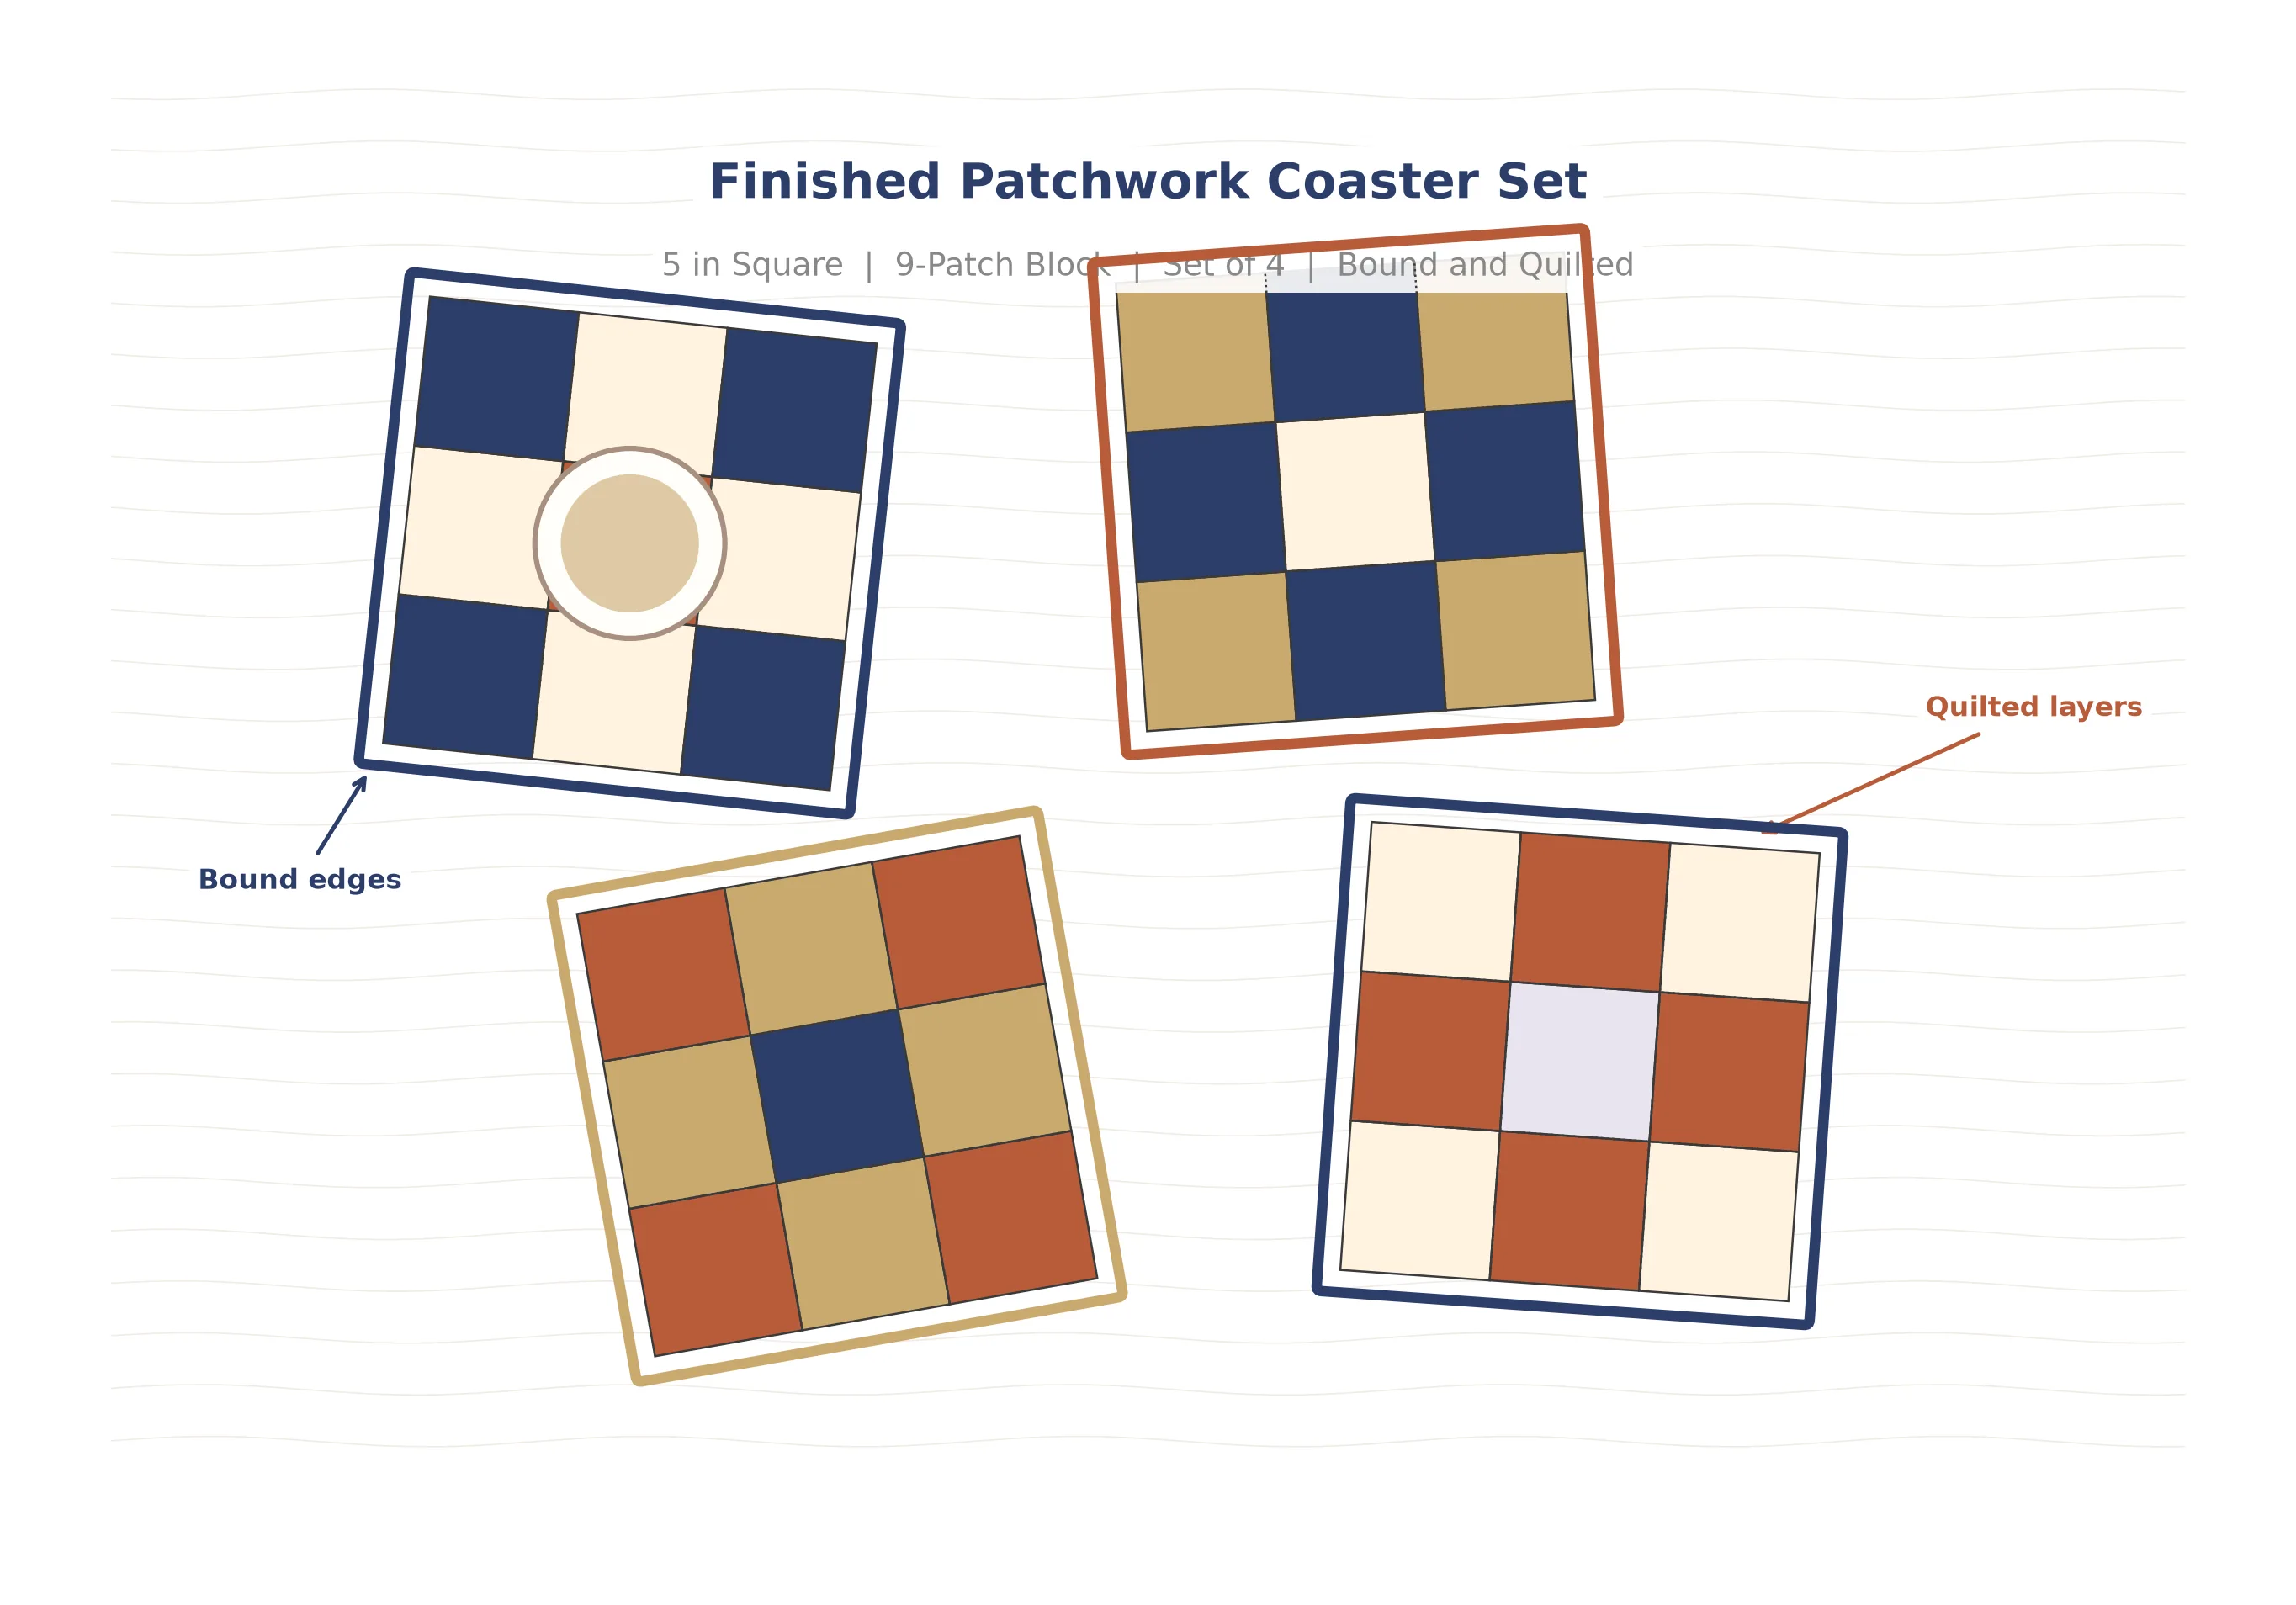
How to Sew Patchwork Coasters Using the Classic 9-Patch Block
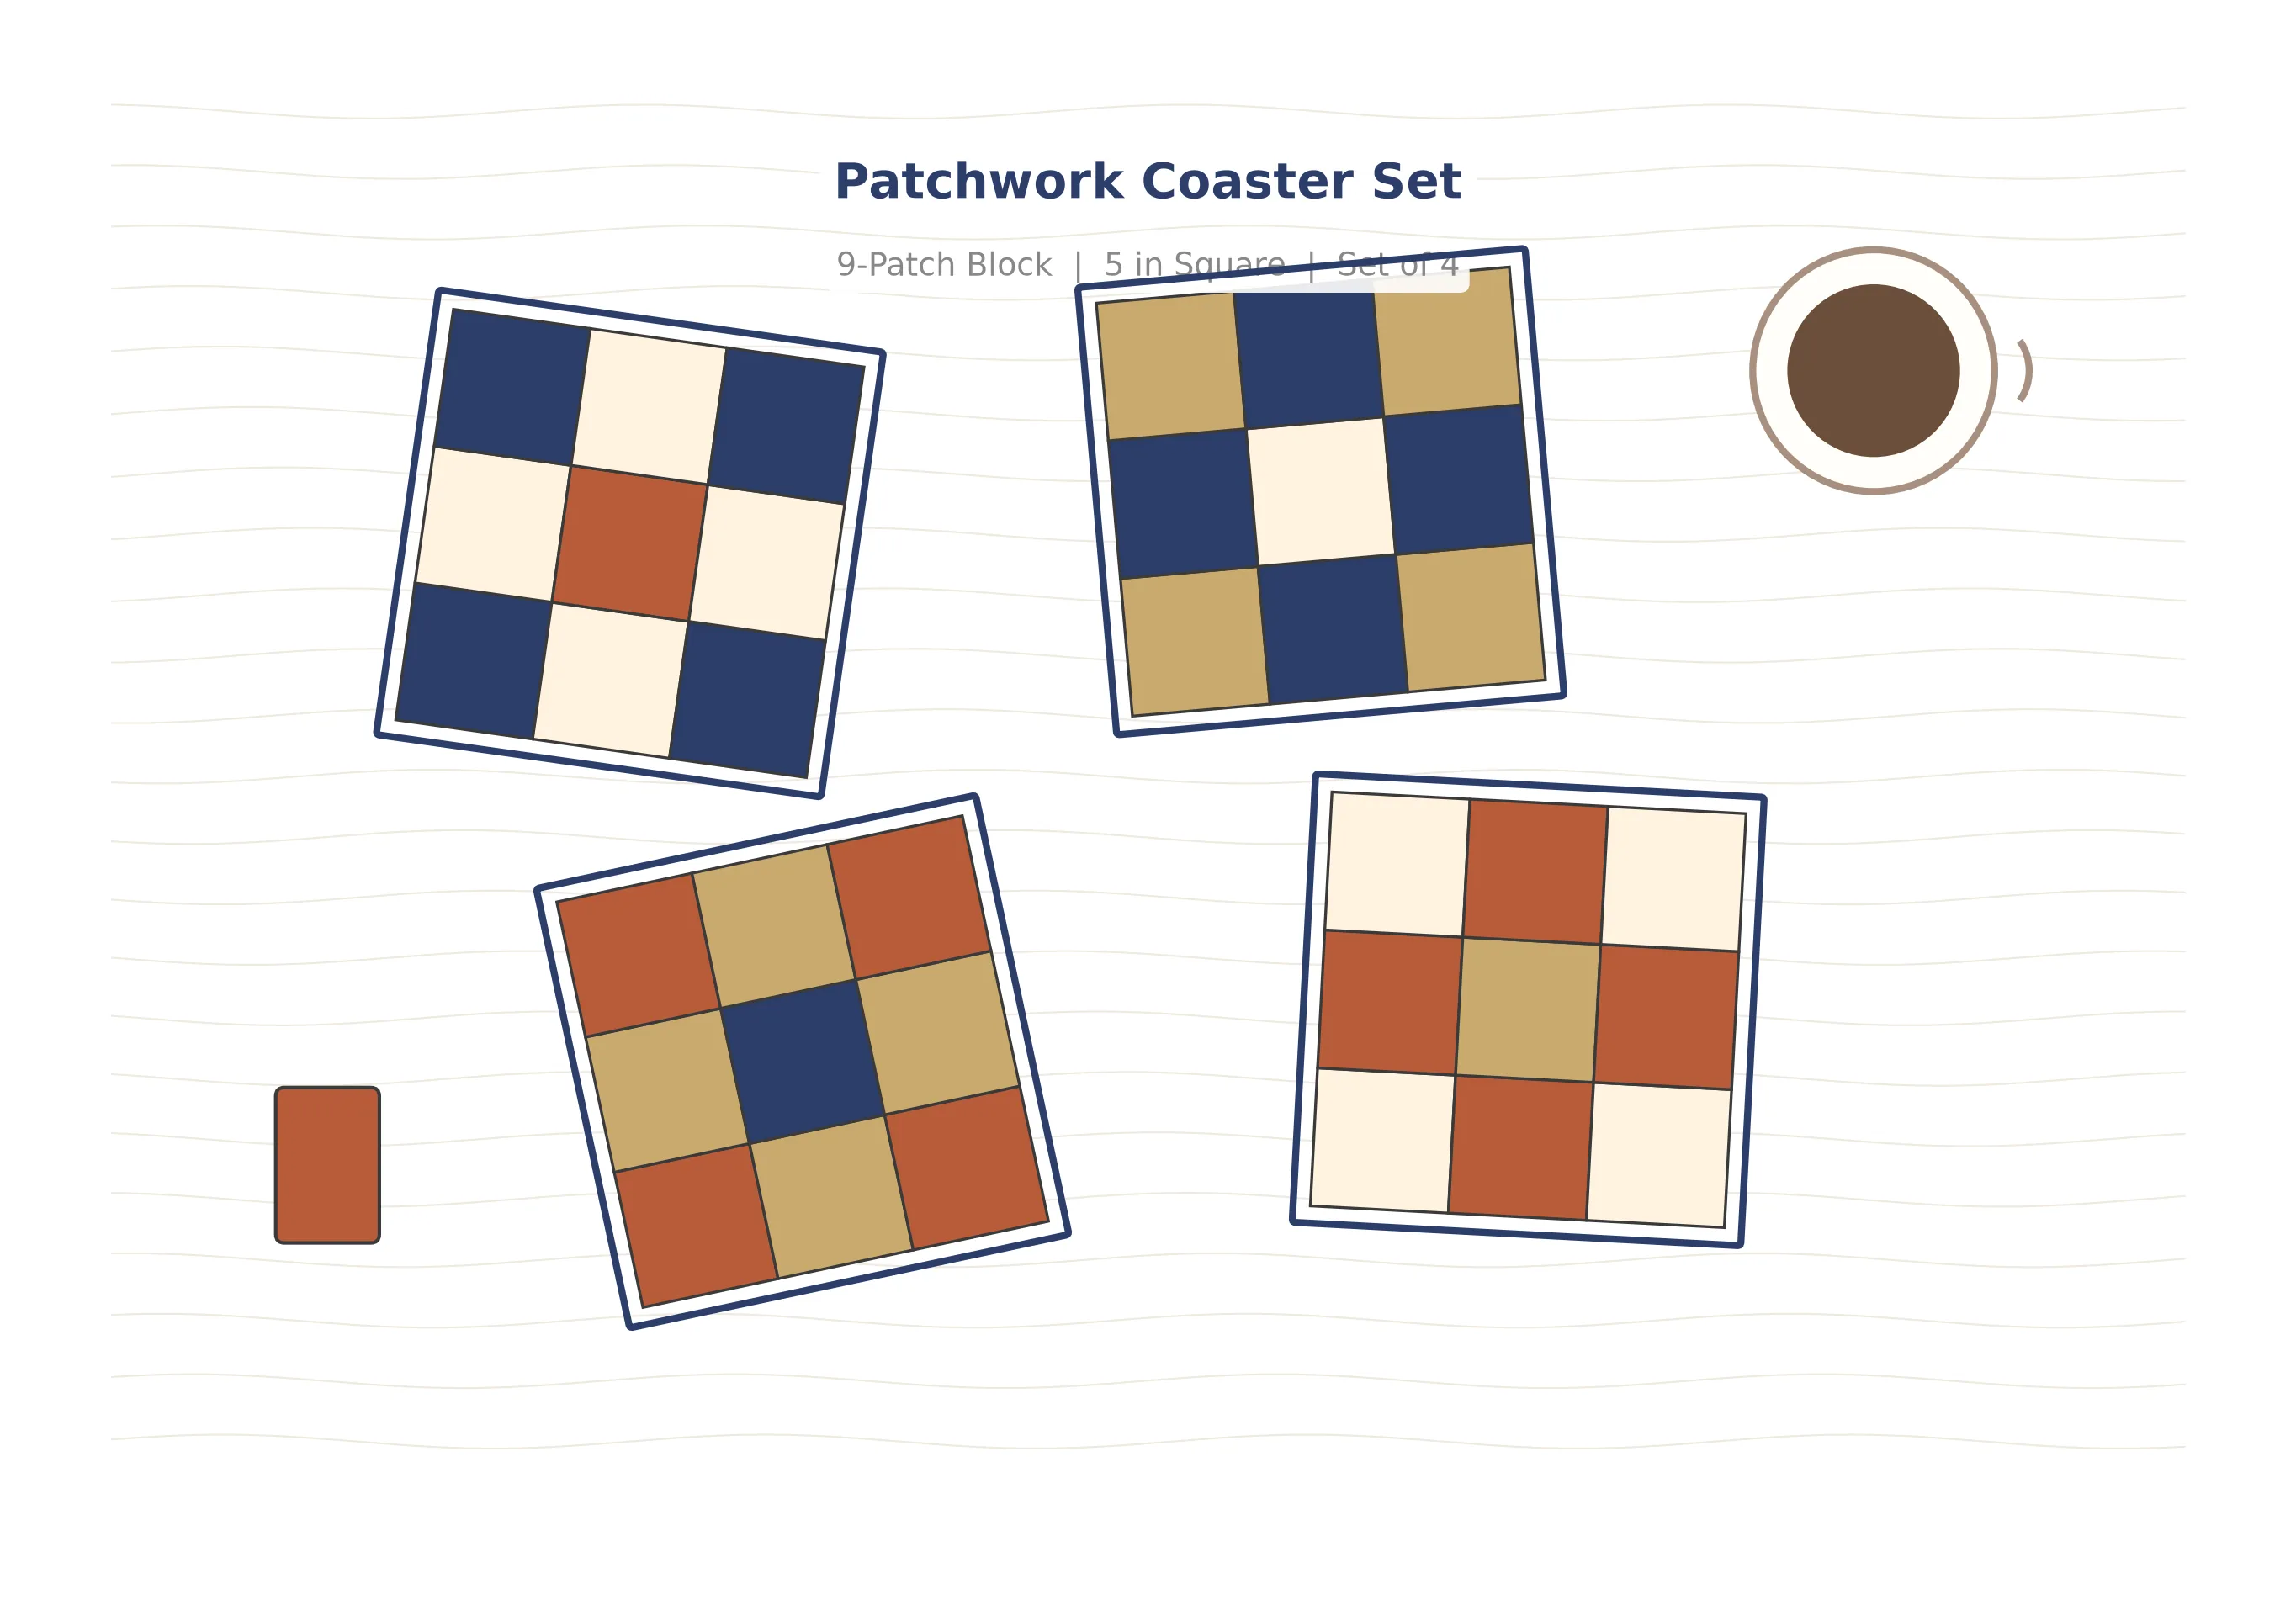
Patchwork is where sewing transforms from a practical skill into a genuine art form. The moment you arrange a handful of fabric scraps into a pattern and watch a beautiful design emerge from the chaos, you will understand why quilters have been obsessed with this craft for centuries. And there is no better way to dip your toes into the world of patchwork than a set of coasters. Coasters are small, fast, forgiving, and endlessly customizable. They use up the tiny fabric scraps that accumulate in every sewist's stash — the leftovers from the tote bag in Post 2, the trimmings from the napkins in Post 3, the odd fat quarter you could not resist at the fabric shop. In this tutorial, you will learn to sew the most iconic patchwork block of all time: the 9-patch. This deceptively simple grid of nine squares is the foundation upon which thousands of quilt patterns are built, and mastering it on a coaster-sized scale will give you the confidence and accuracy skills you need for the full-size quilts in our later series. You will practice the quilter's sacred ¼-inch seam allowance, learn how to press seams so they nest together perfectly, discover how to layer and quilt a fabric sandwich, and finish the edges with a clean binding technique. By the end of this project, you will have a beautiful set of four handmade coasters that make a thoughtful gift and a satisfying first step into the vast, wonderful world of quilting.
What You Will Learn
This project is a bridge between the basic sewing skills you have built in the previous seven posts and the more advanced quilting techniques you will encounter in Series 17 and beyond. The most critical skill you will develop here is accuracy. In garment sewing, a seam that is off by an eighth of an inch is usually invisible in the finished piece. In patchwork, that same eighth of an inch compounds across every seam in the block, and by the time you join the final row, your squares may be misaligned by half an inch or more. Learning to sew a consistent, precise ¼-inch seam allowance is the single most important quilting skill you can develop, and coasters are the perfect low-stakes project for practicing it. You will also learn how to press seams strategically so they nest together when you join rows, how to layer a quilt sandwich with batting, how to quilt through multiple layers to add texture and stability, and how to apply a simple binding to finish the edges cleanly. Every one of these skills scales directly to larger quilting projects.
Materials and Tools
What You Need
- Assorted cotton fabric scraps (at least 4 colors/prints)
- ¼ yard (22 cm) backing cotton fabric
- Thin cotton batting scraps (4 × 6 in pieces)
- ½ yard binding fabric or 2 in wide strips
- Matching all-purpose thread
- Sewing machine with ¼ in foot (if available)
- Rotary cutter, cutting mat, and quilting ruler
- Sharp fabric scissors (alternative to rotary)
- Iron and ironing board
- Pins or sewing clips
Choosing Your Fabrics
The beauty of patchwork coasters is that almost any 100% cotton fabric will work beautifully. Quilting cotton is the ideal choice because it is lightweight, stable, and comes in an extraordinary range of colors and prints. For your first set, choose three to five fabrics that share a common color family but vary in scale and value — for example, a dark navy floral, a medium blue stripe, a light blue solid, and a cream print with blue accents. The contrast between light and dark fabrics is what makes the 9-patch pattern visually interesting, so avoid choosing fabrics that are all the same value. A good test is to take a photo of your fabric selections on your phone and convert it to black and white — if the fabrics all look the same shade of gray, you need more contrast. For the backing, a solid color that matches one of the fabrics in your patchwork top creates a clean, cohesive look. The batting should be thin cotton or a cotton-polyester blend designed for quilting. Avoid thick, puffy batting because it will make the coasters unstable and cause drinks to wobble. Pre-wash all fabrics before cutting to prevent shrinkage from distorting your carefully pieced blocks after the first wash.
Cutting Layout
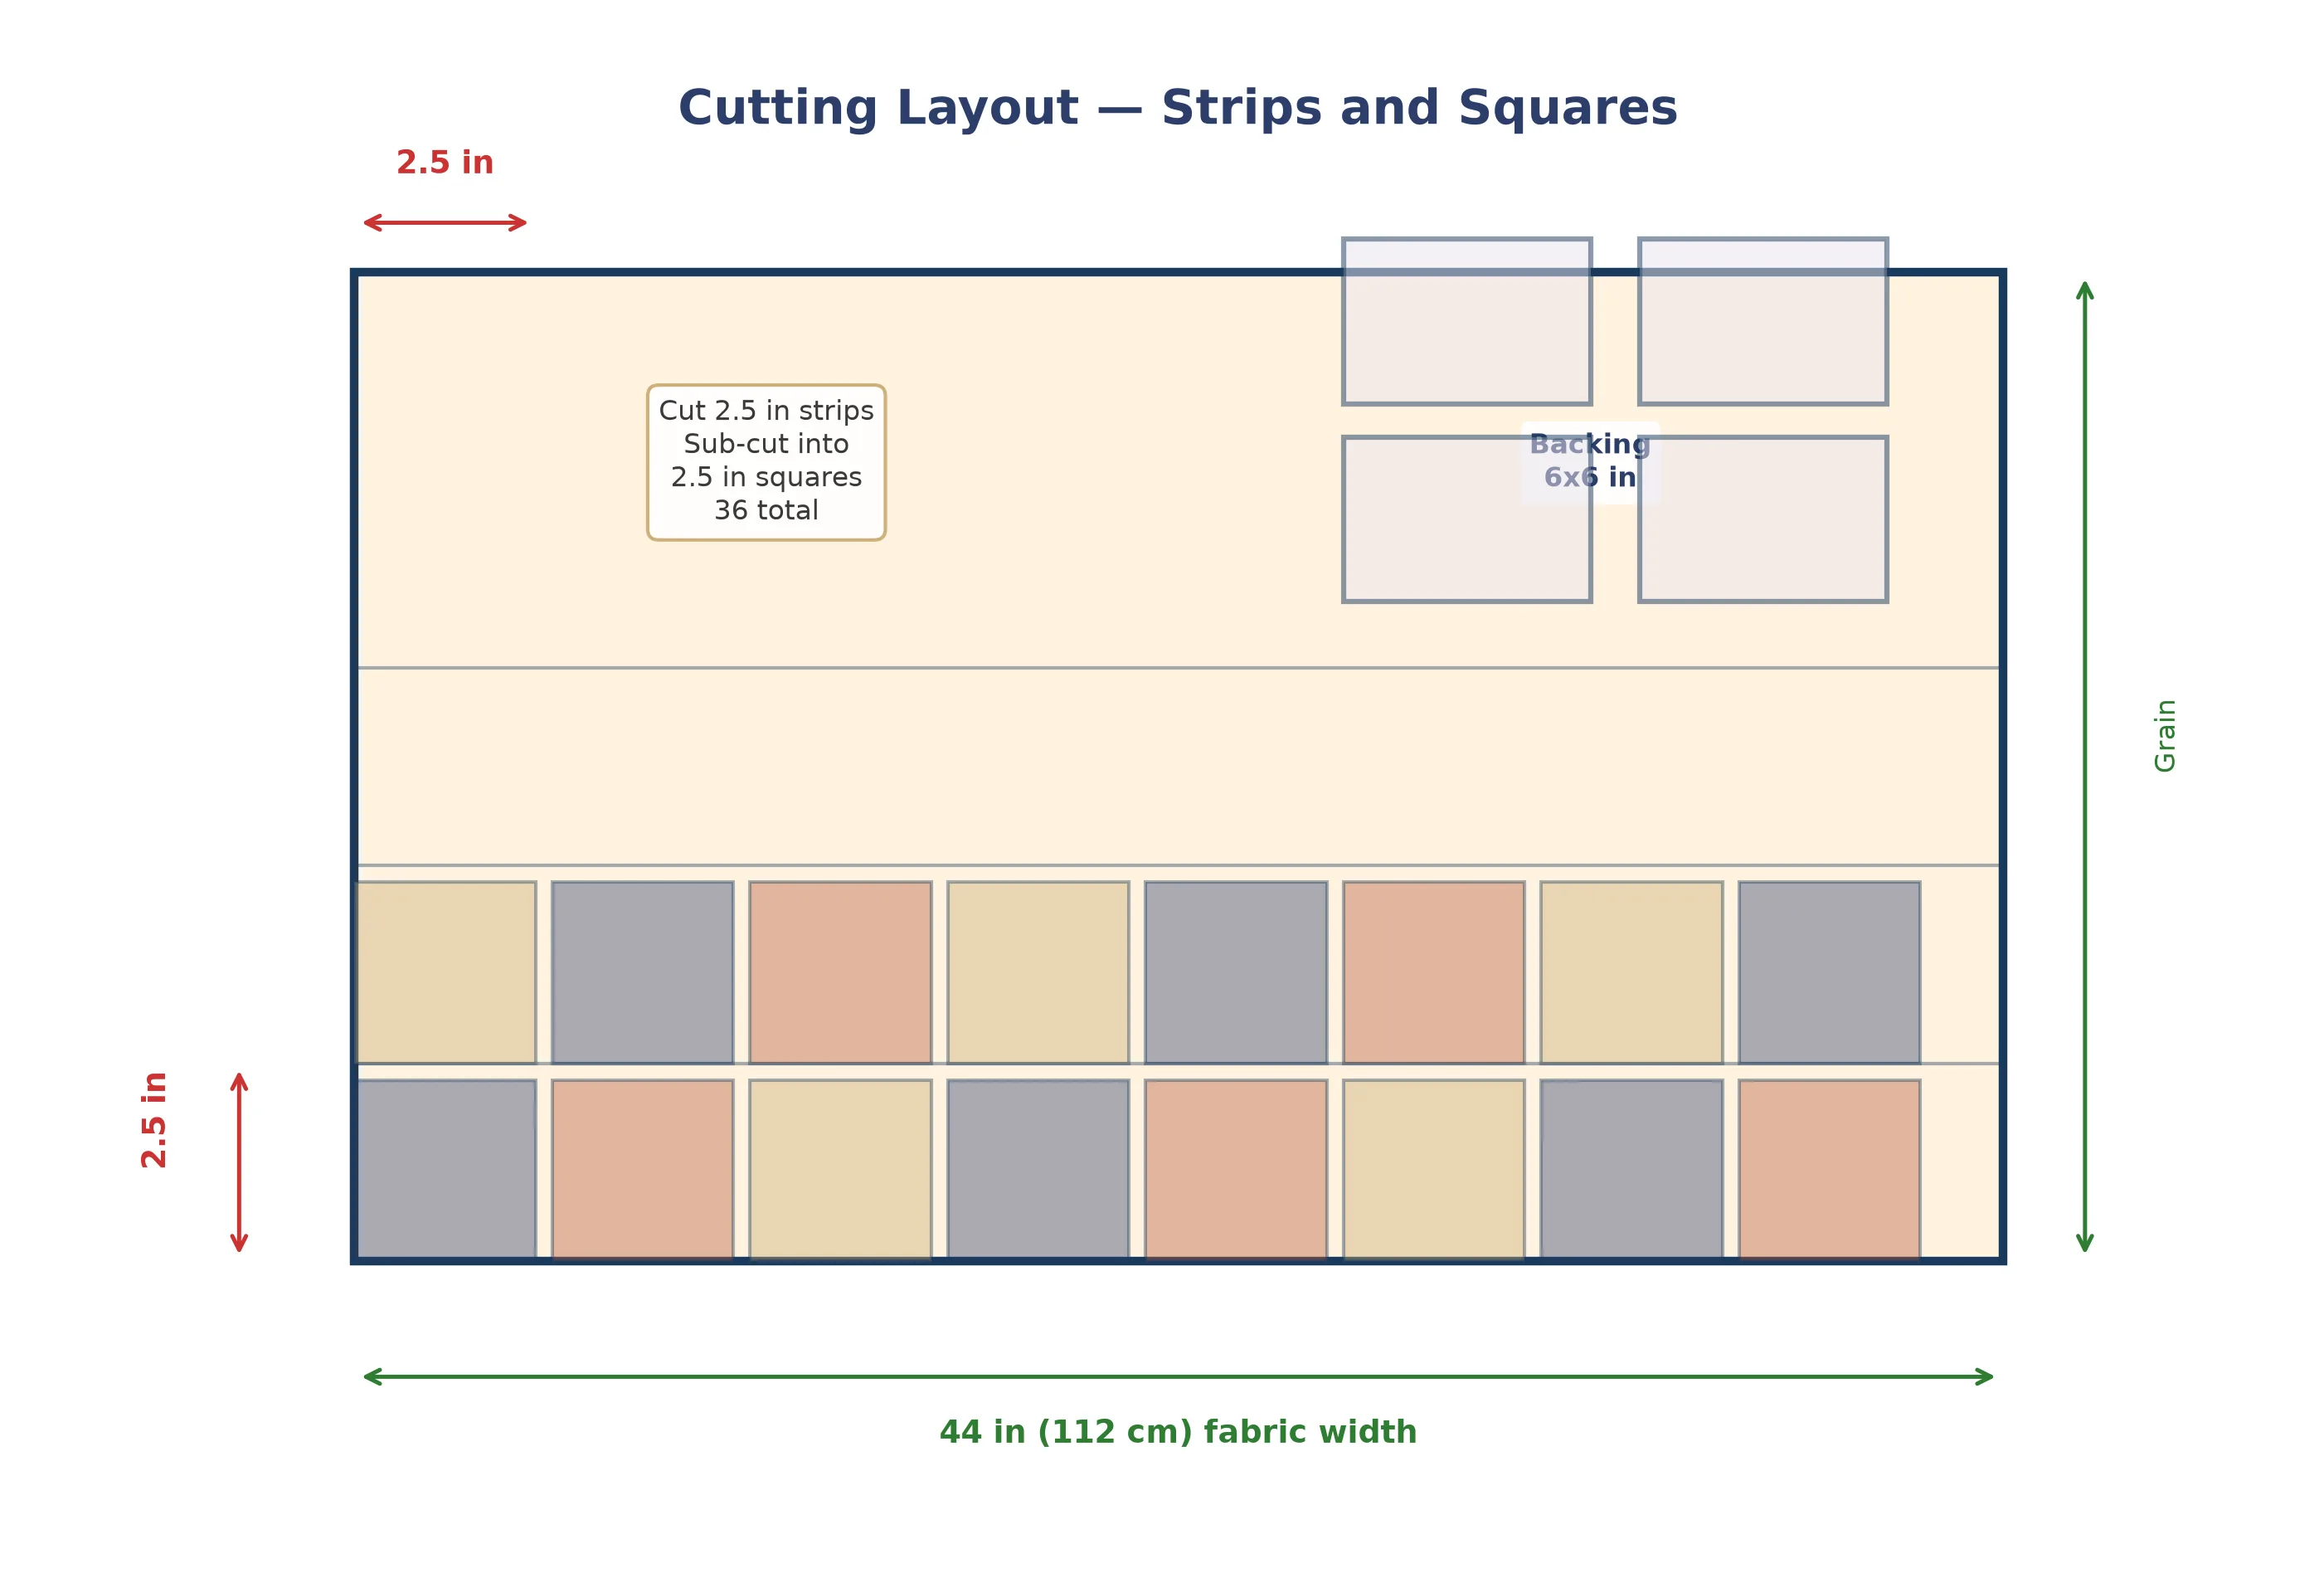
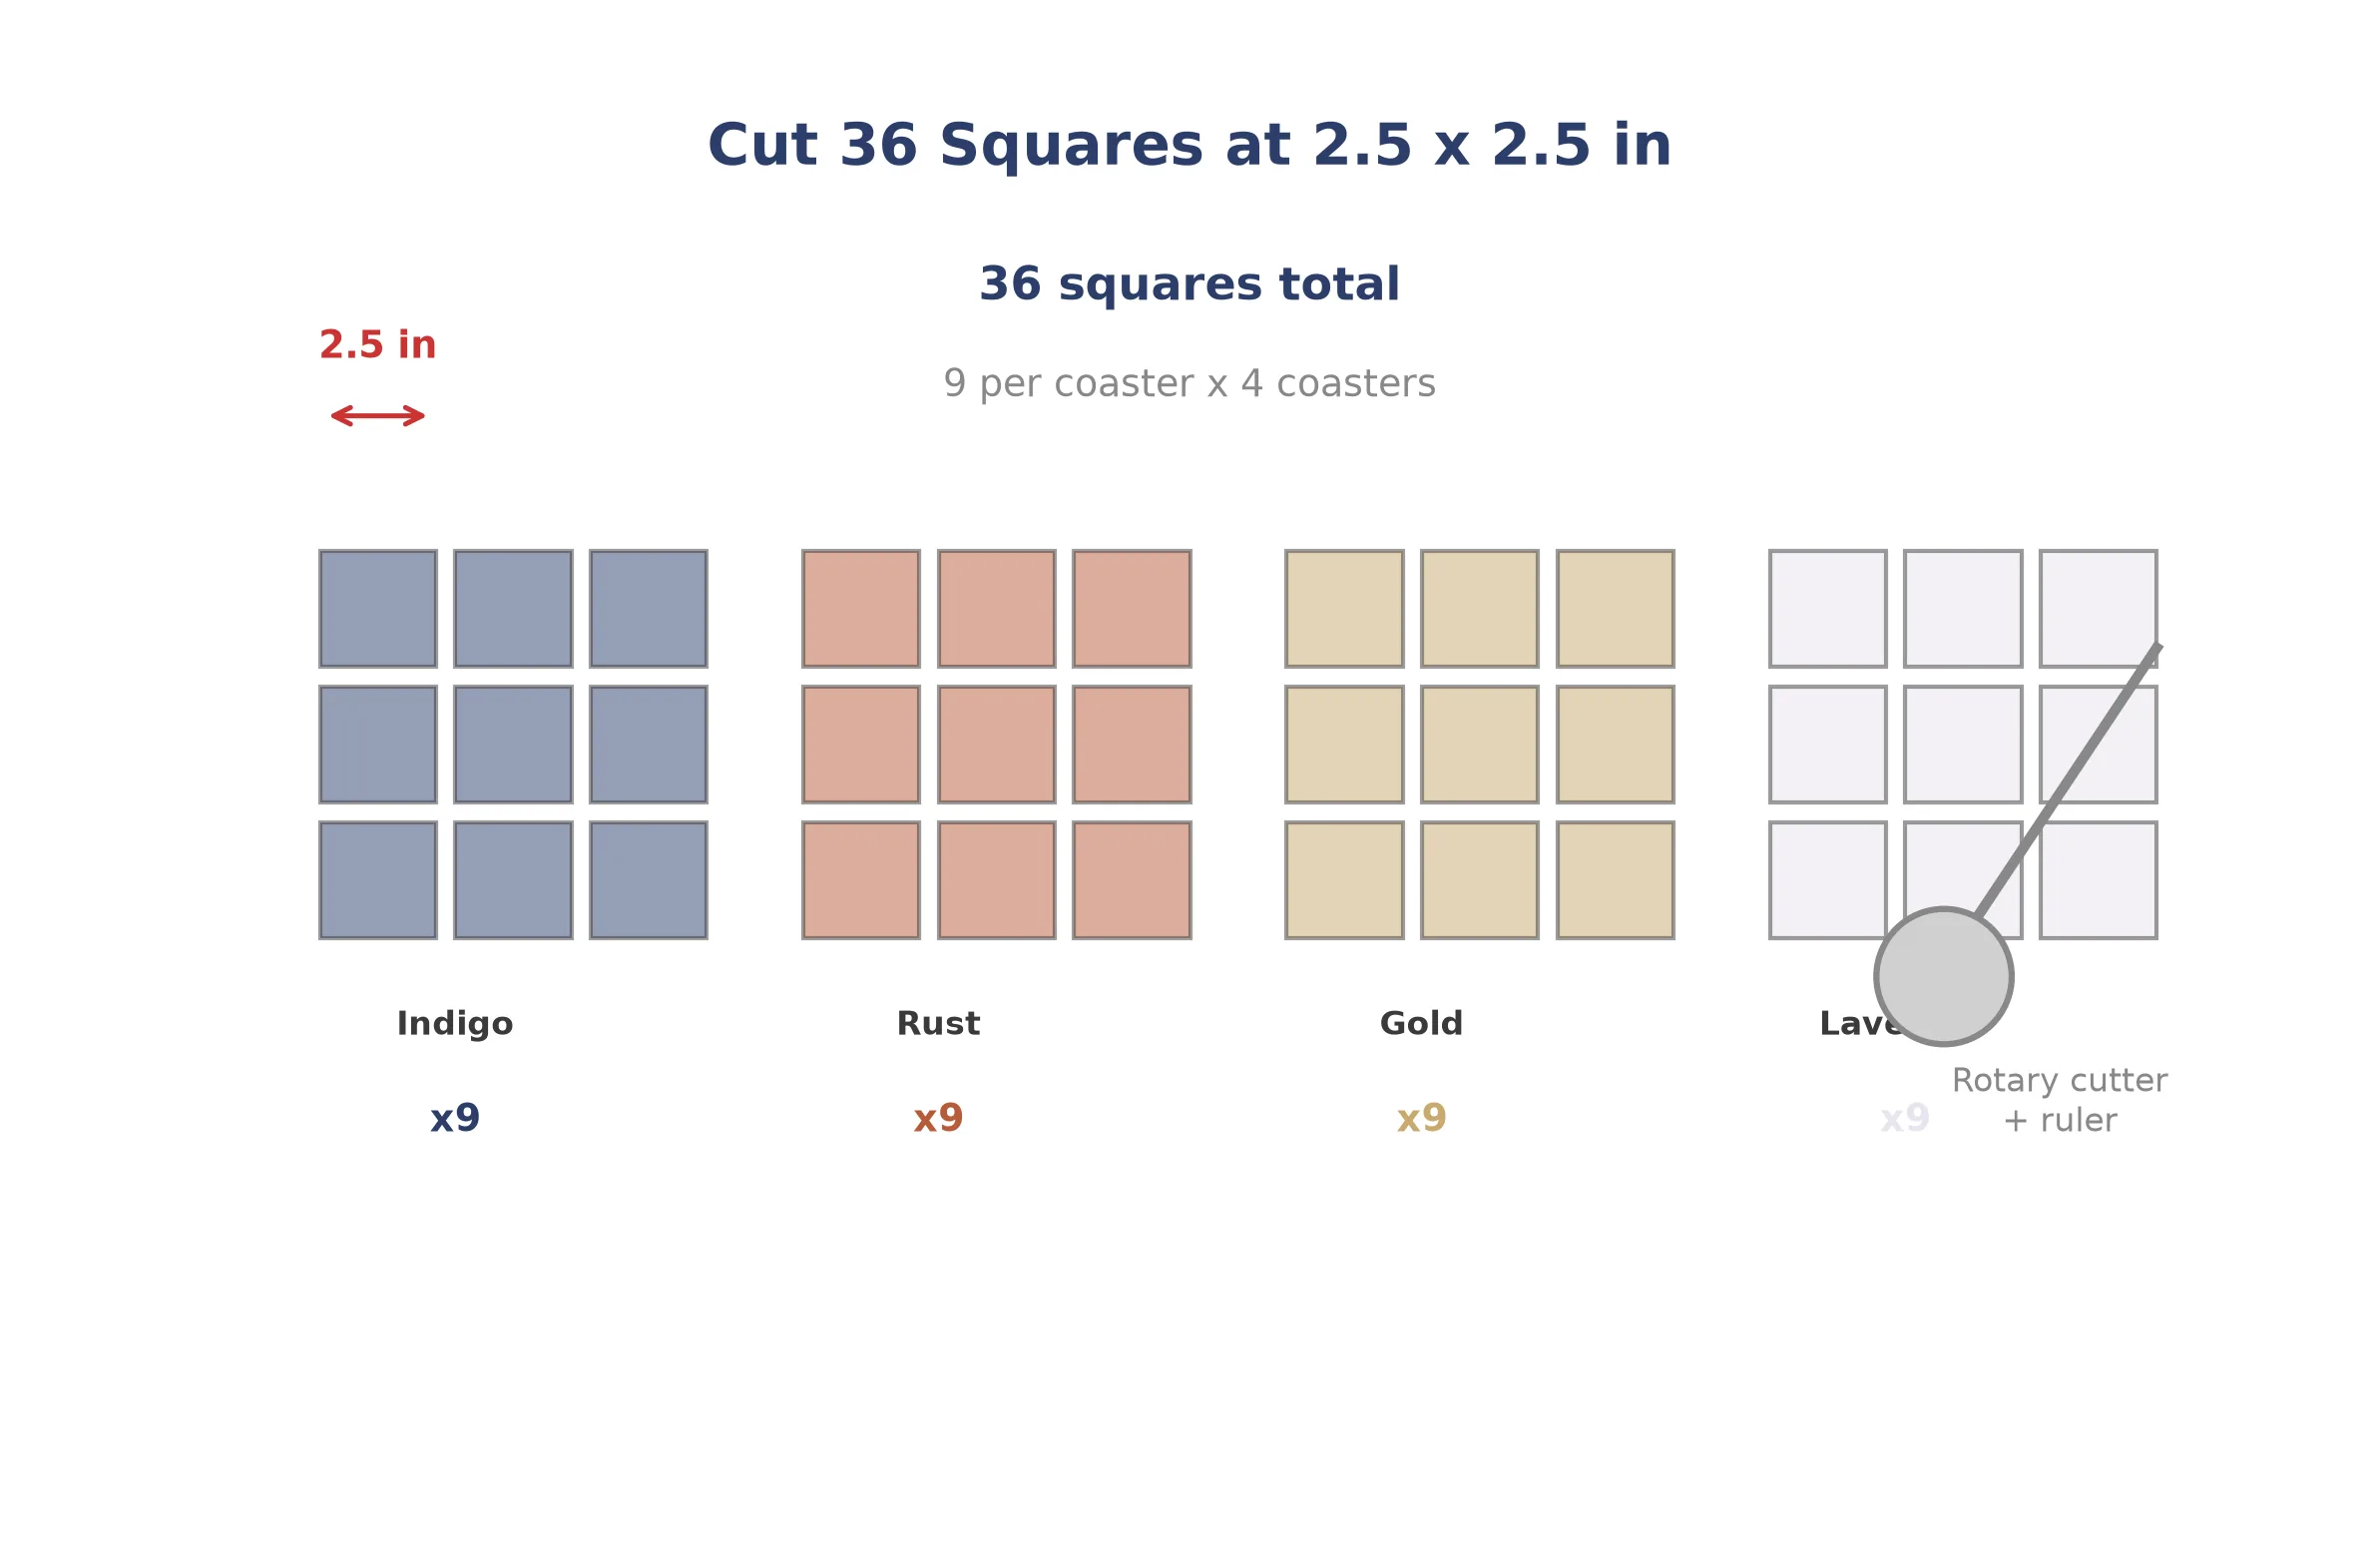
For a set of four coasters, you need a total of 36 small squares, each cut at 2½ × 2½ inches. Nine squares make one 9-patch block, and four blocks make the complete set. The most efficient way to cut these squares is to first cut 2½-inch-wide strips across the width of your fabric, then sub-cut the strips into 2½-inch squares. From a standard 44-inch-wide fabric strip, you can get approximately 16 squares per strip, so you need about three strips total from your assorted scraps. You also need four backing squares and four batting squares, each cut at 6 × 6 inches, to allow room for quilting and trimming. The cutting layout below shows how to arrange all the pieces efficiently on your fabric.
Pattern Pieces
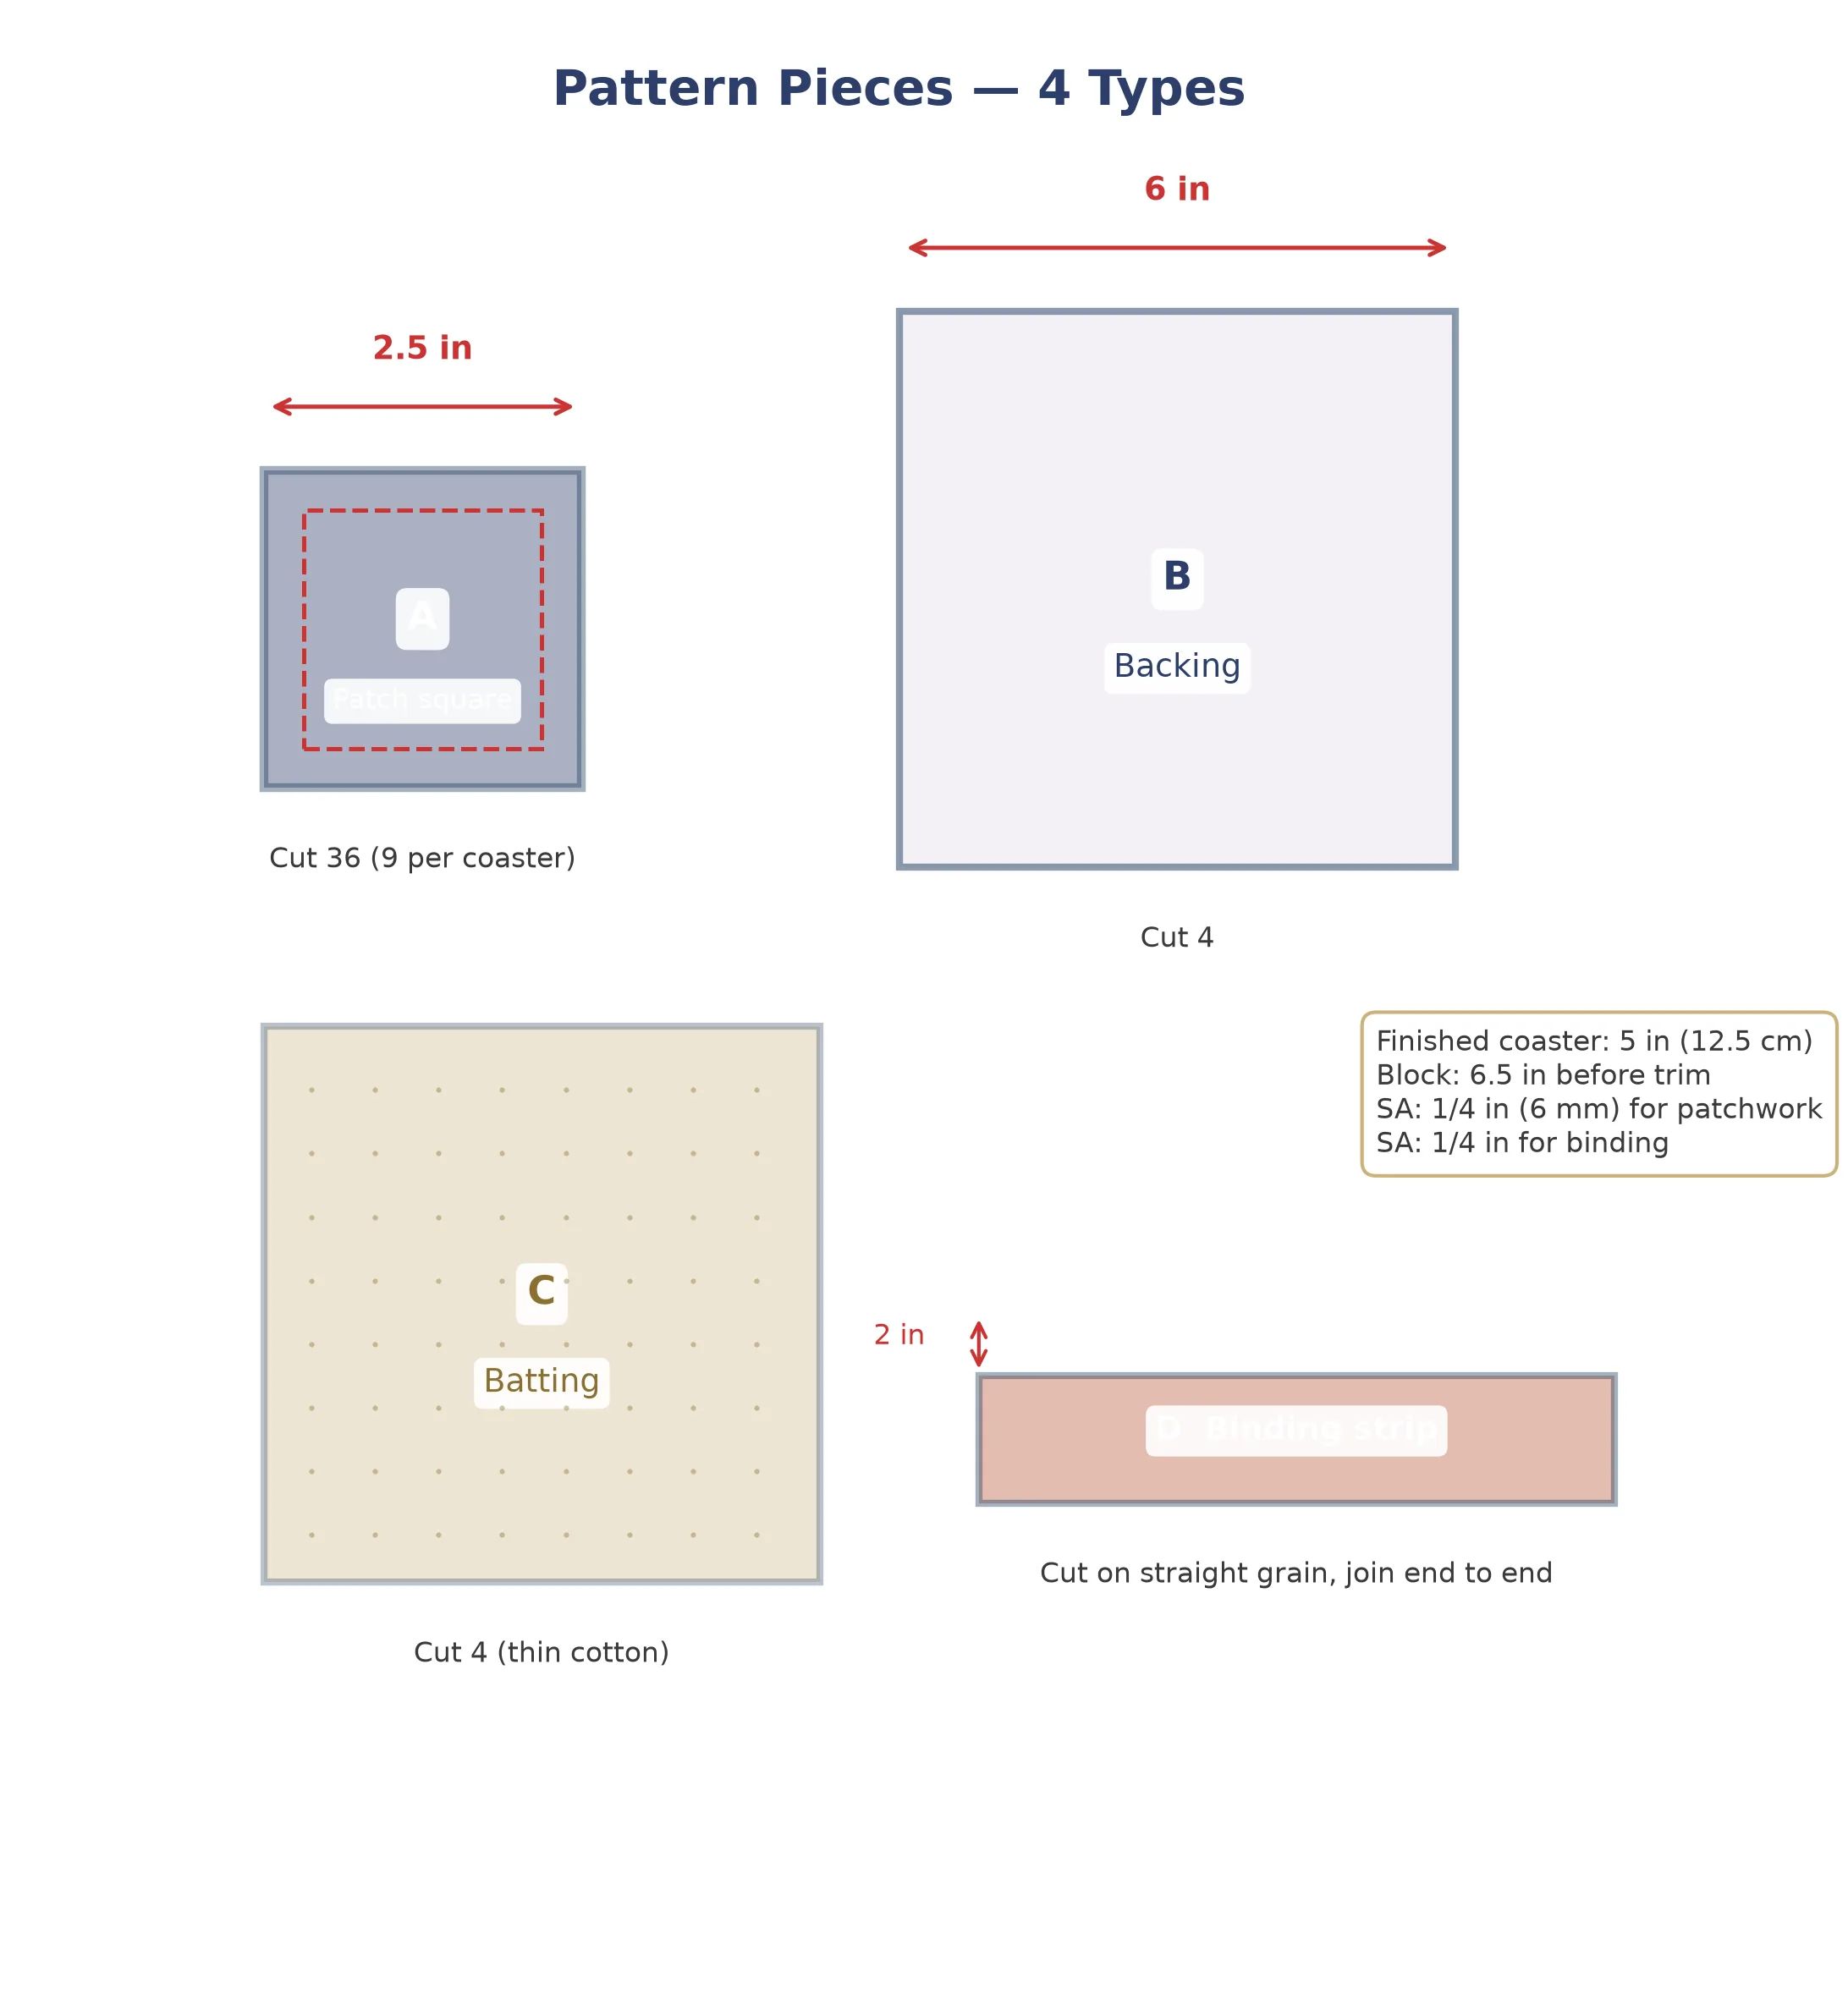
The 9-patch block is composed of just one shape — a square — repeated nine times in a 3 × 3 grid. Each square is cut at 2½ inches and finishes at 2 inches after the ¼-inch seam allowances are sewn on all four sides. The completed 9-patch block measures 6½ inches before trimming and 5½ inches after squaring up, which gives you a 5-inch finished coaster after binding. You will also need one 6-inch backing square and one 6-inch batting square per coaster for the quilting sandwich. The binding is cut as 2-inch-wide strips on the straight grain, joined end to end to create a continuous strip long enough to go around all four coasters.
Step-by-Step Instructions
Cut the Patchwork Squares
Begin by pressing all your fabric scraps flat. Using your rotary cutter, quilting ruler, and cutting mat, cut 2½-inch-wide strips from each of your chosen fabrics. Then sub-cut each strip into 2½-inch squares. You need 36 squares total for four coasters — nine per coaster. Try to cut a roughly equal number of squares from each fabric so the distribution of colors and prints is balanced across all four coasters. If you do not have a rotary cutter, use sharp fabric scissors and a clear ruler to measure and cut each square individually, taking extra care to keep the edges straight and the corners square. Accuracy at this stage is absolutely critical — even a small deviation in the size of individual squares will compound across the seams and cause alignment problems later.
Arrange the 9-Patch Layout
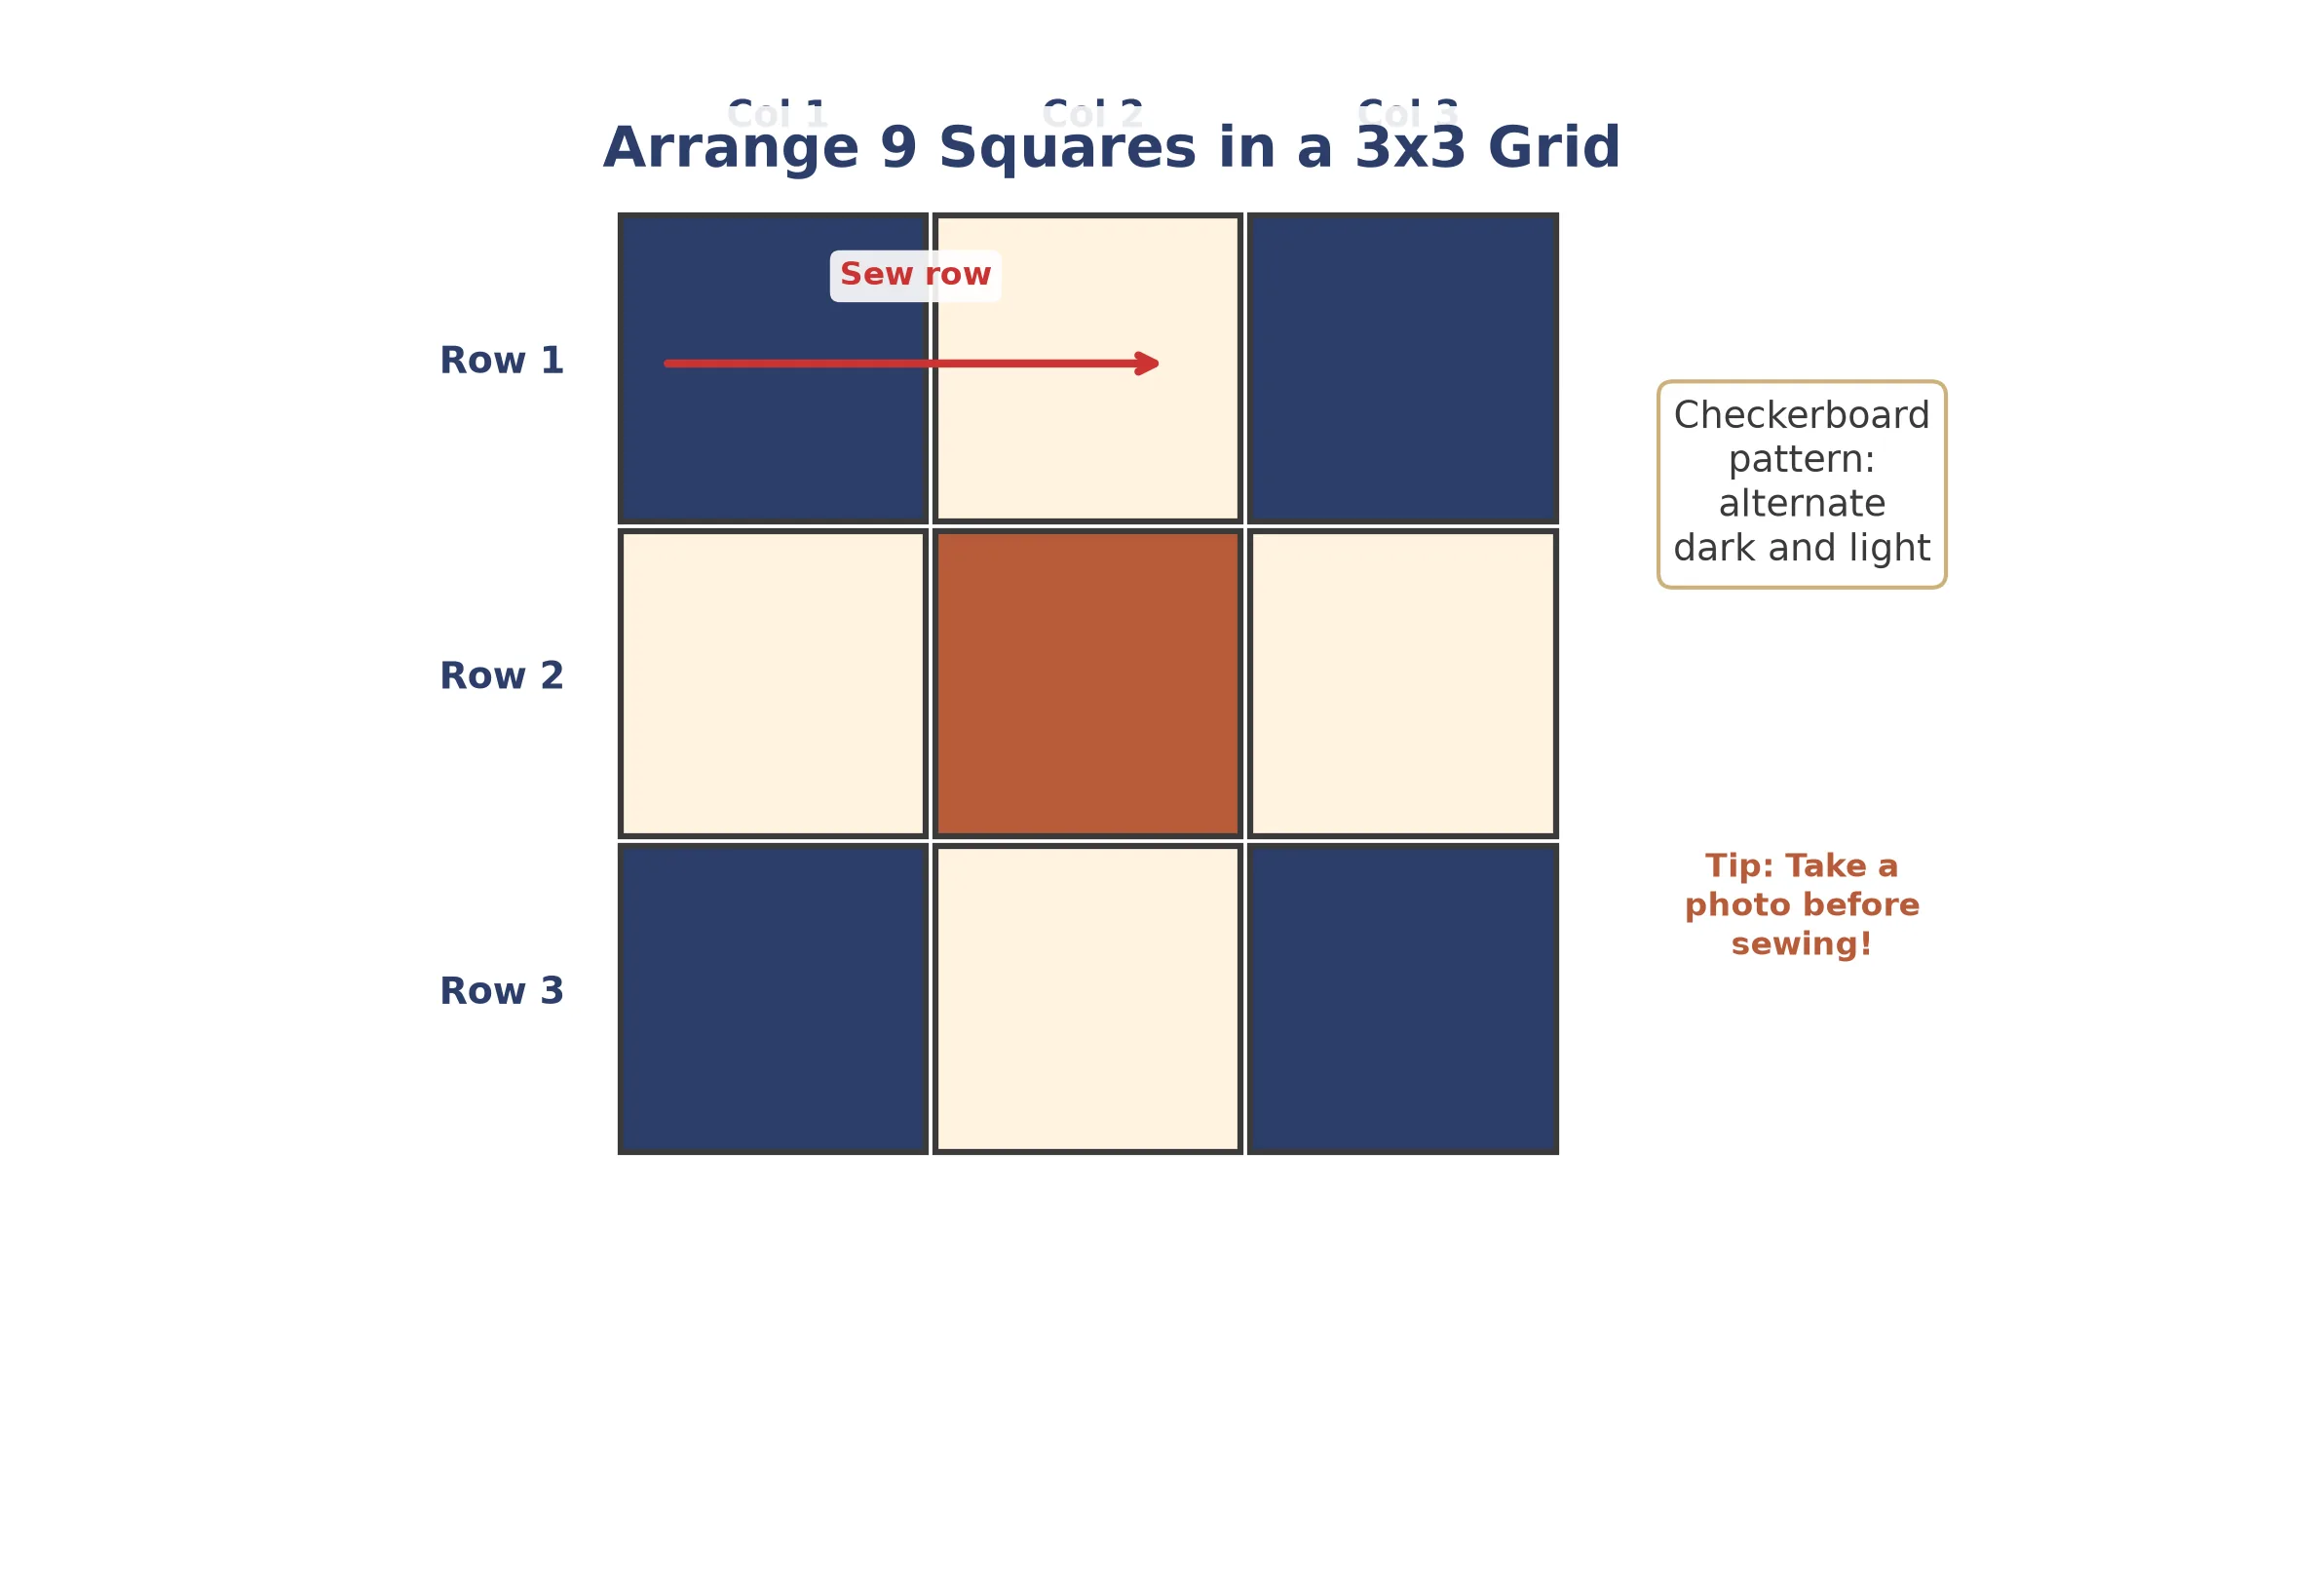
Clear a flat surface near your sewing machine and lay out nine squares in a 3 × 3 grid for your first coaster. The classic 9-patch alternates two fabrics in a checkerboard pattern — for example, dark squares in the four corners and the center, light squares in the remaining four positions. However, there are no rules, and you can arrange your squares in any pattern that pleases you. Experiment with different layouts until you find one you love. Once you are happy with the arrangement, take a quick photo on your phone so you can refer back to it if the squares get shuffled during sewing. Repeat this process for all four coasters, varying the fabric combinations so each coaster looks unique but cohesive as a set.
Sew the Rows
Pick up the three squares in the top row of your grid and sew them together with right sides facing, using a precise ¼-inch seam allowance. Sew the first two squares together, then add the third. Press the seams to one side — toward the darker fabric if possible, as this prevents the seam allowance from showing through the lighter fabric on the right side. Repeat for the middle row and the bottom row. At this point, you should have three strips of three squares each. The key to accuracy here is consistency: use the same ¼-inch seam allowance for every single seam, and do not stretch or pull the fabric as it feeds through the machine. If your machine has a ¼-inch presser foot, this is the time to use it. If not, place a strip of masking tape on your needle plate exactly ¼ inch from the needle to serve as a guide.
Join the Rows with Nested Seams
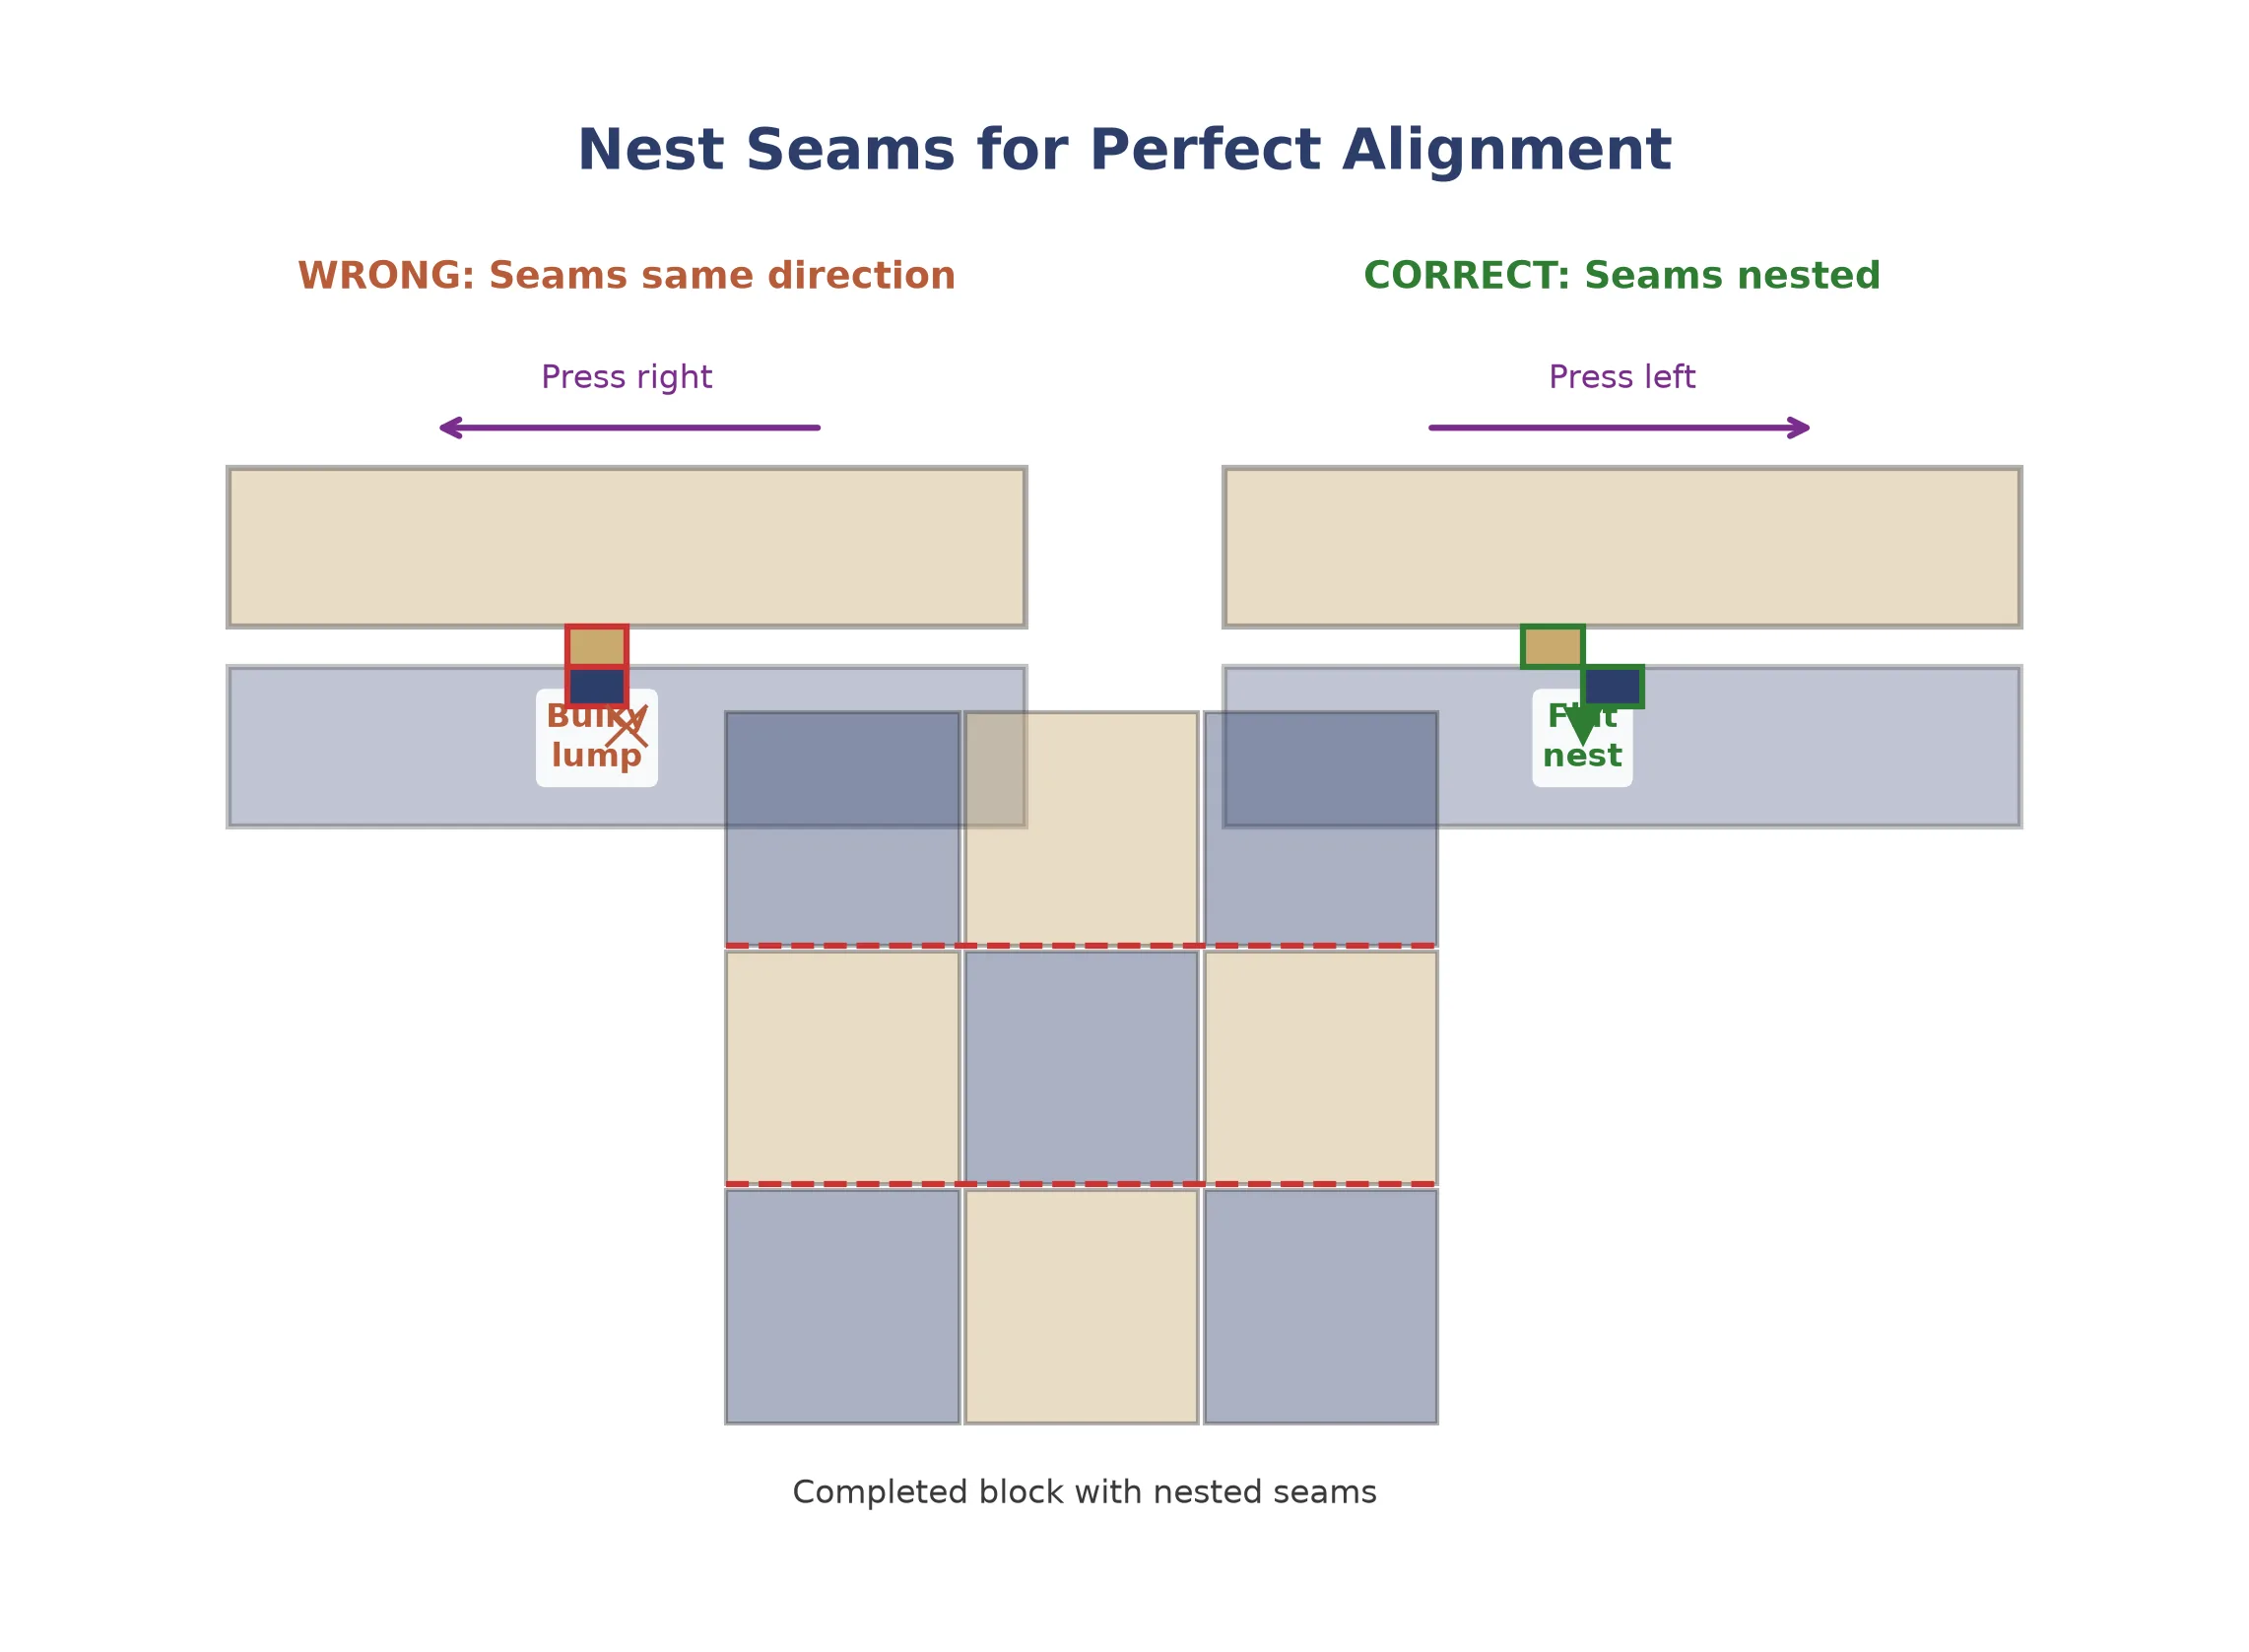
This is where the magic of pressing becomes apparent. Before joining the rows, press the seams of the top row to the right, the middle row to the left, and the bottom row to the right (or vice versa — the important thing is that adjacent rows are pressed in opposite directions). When you place the top row on the middle row with right sides together, the seam allowances will nest together like interlocking fingers, creating a perfect alignment at every intersection. Pin at each seam intersection to hold the nesting in place, then sew the rows together with your ¼-inch seam allowance. Press the new seams to one side. Repeat to join the bottom row. Your completed 9-patch block should measure approximately 6½ inches square. If it is slightly off, do not worry — you will trim it to size in a later step. Repeat this entire process for all four coasters.
Layer the Coaster Sandwich
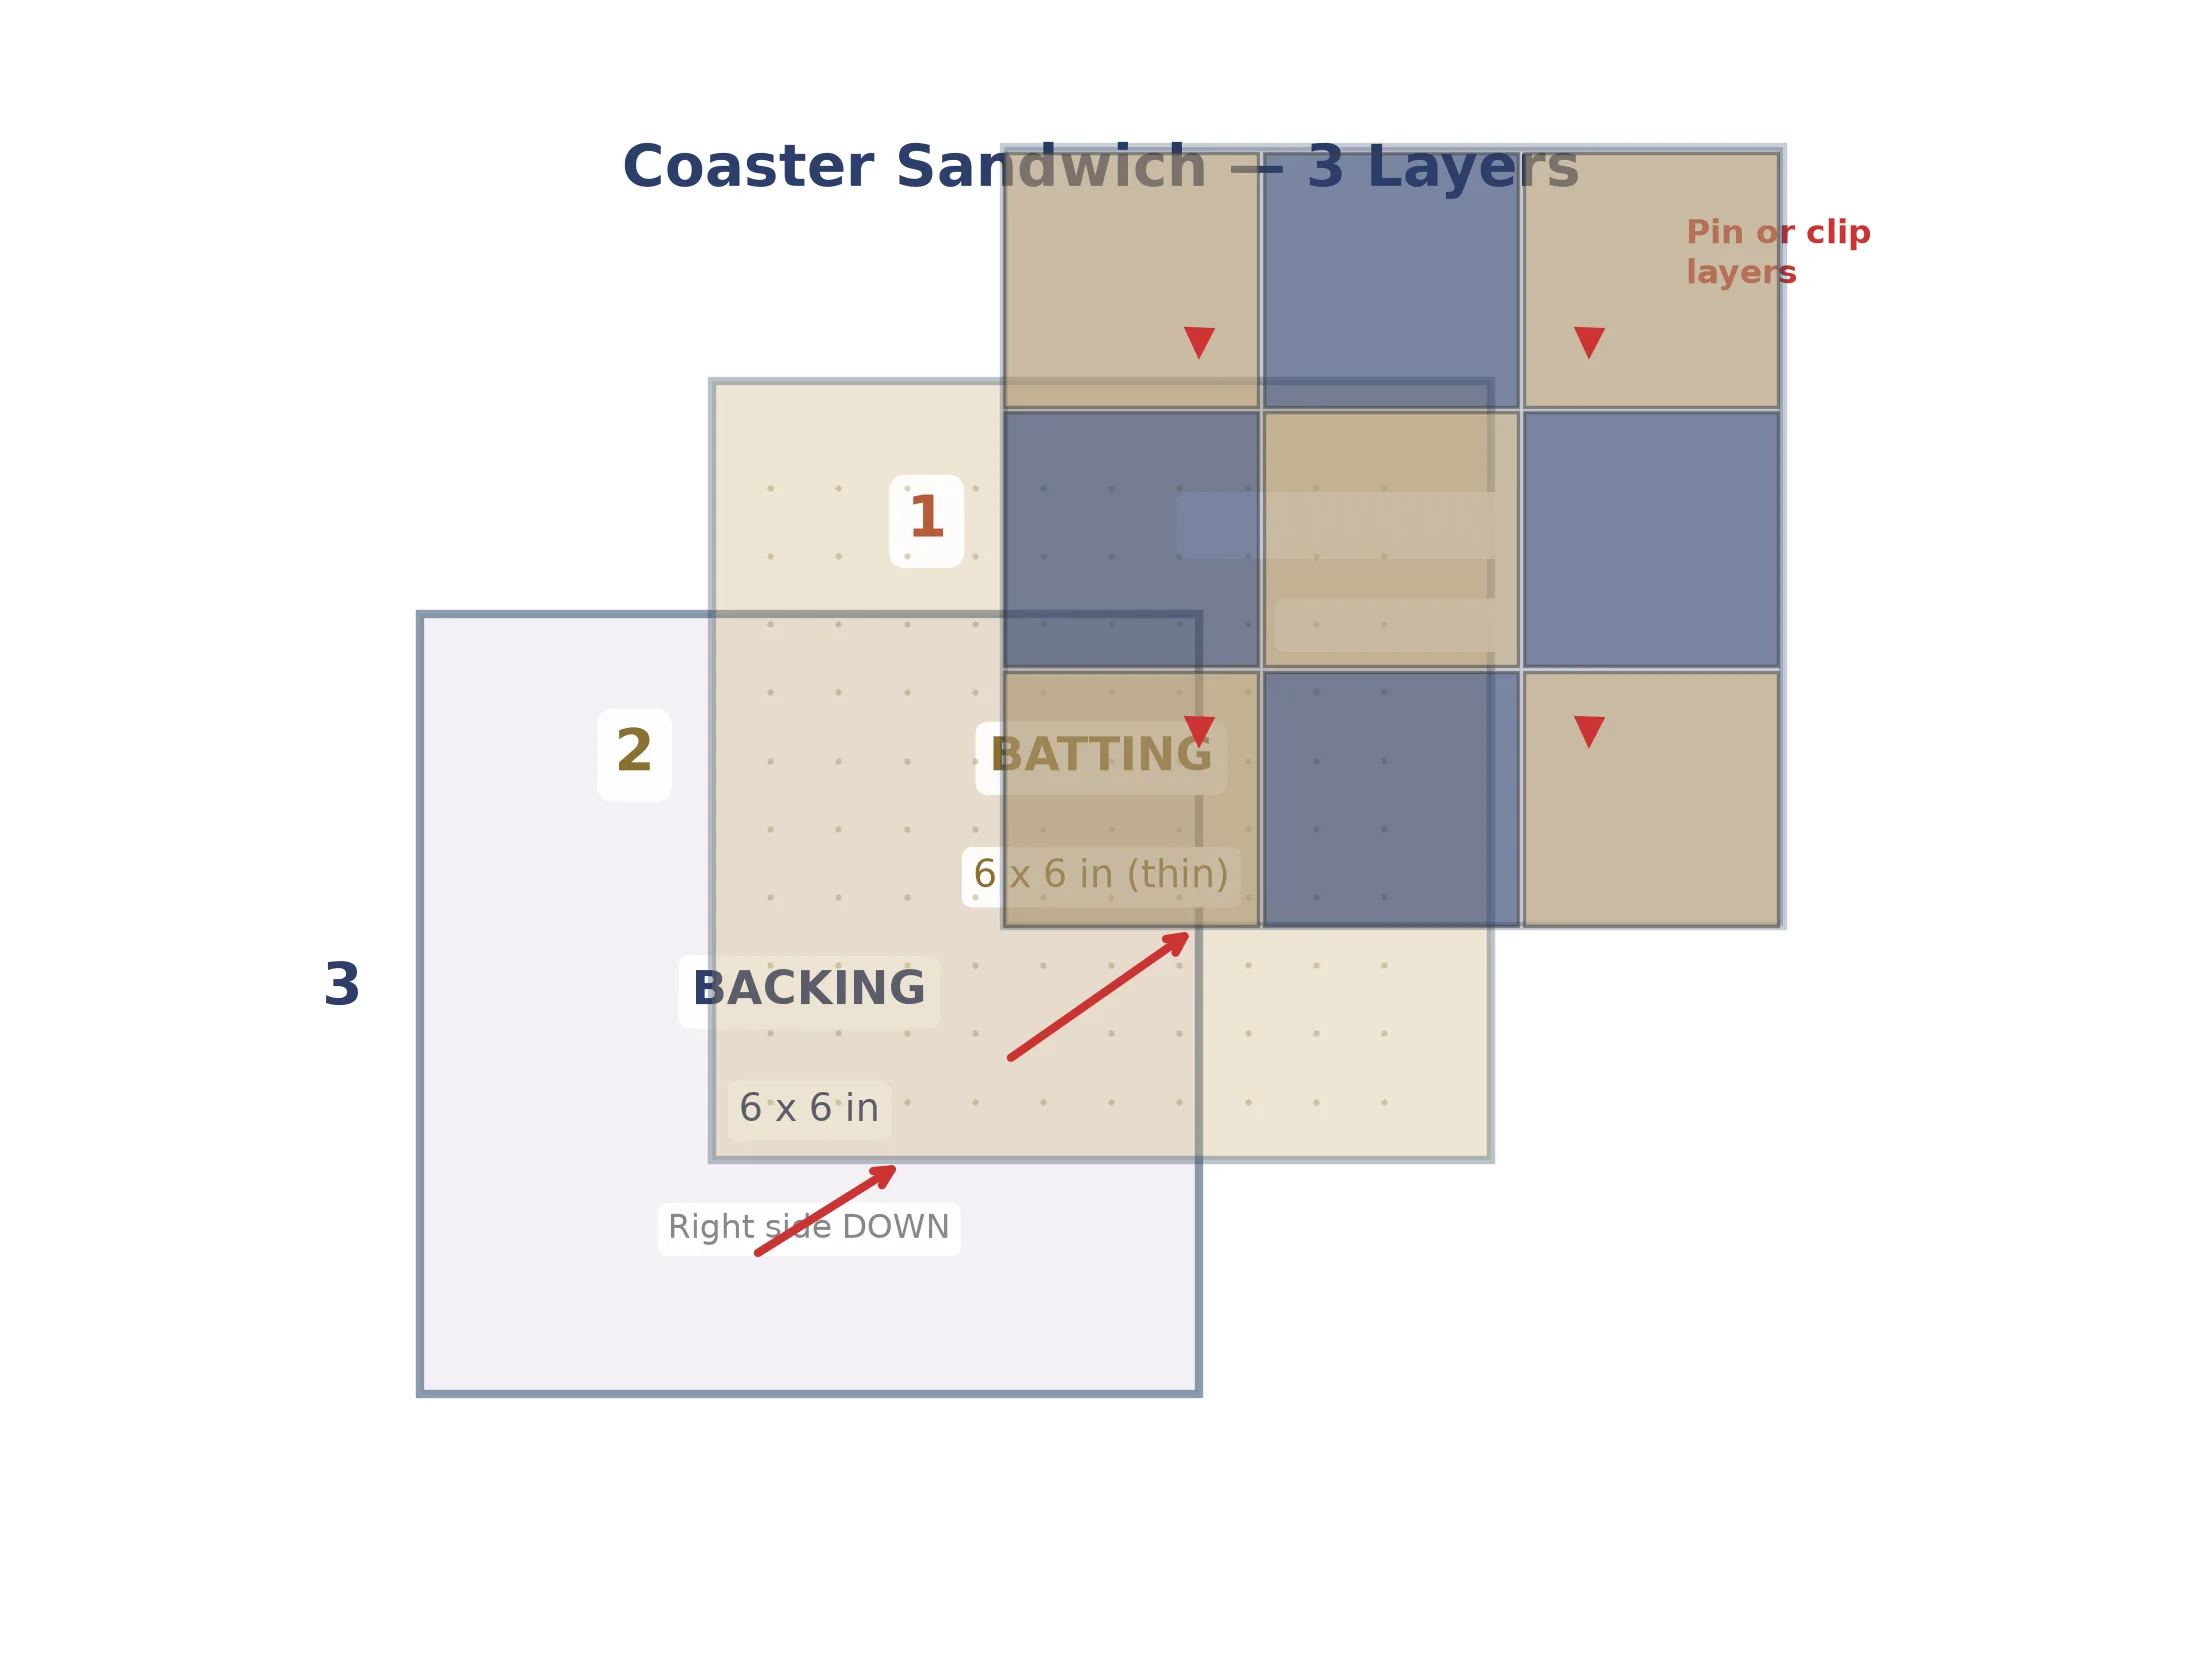
For each coaster, you need to create a three-layer sandwich consisting of the patchwork top, a piece of thin batting, and a backing square. Lay the backing fabric right side down on your work surface. Place the batting square on top of the backing, centering it as best you can. Then place the patchwork block right side up on top of the batting. All three layers should be roughly aligned, with the backing and batting extending slightly beyond the patchwork top on all sides. This extra margin gives you room to quilt the layers together and then trim everything to a uniform size. Pin or clip the three layers together at the center and near each corner to prevent shifting during quilting.
Quilt the Layers Together
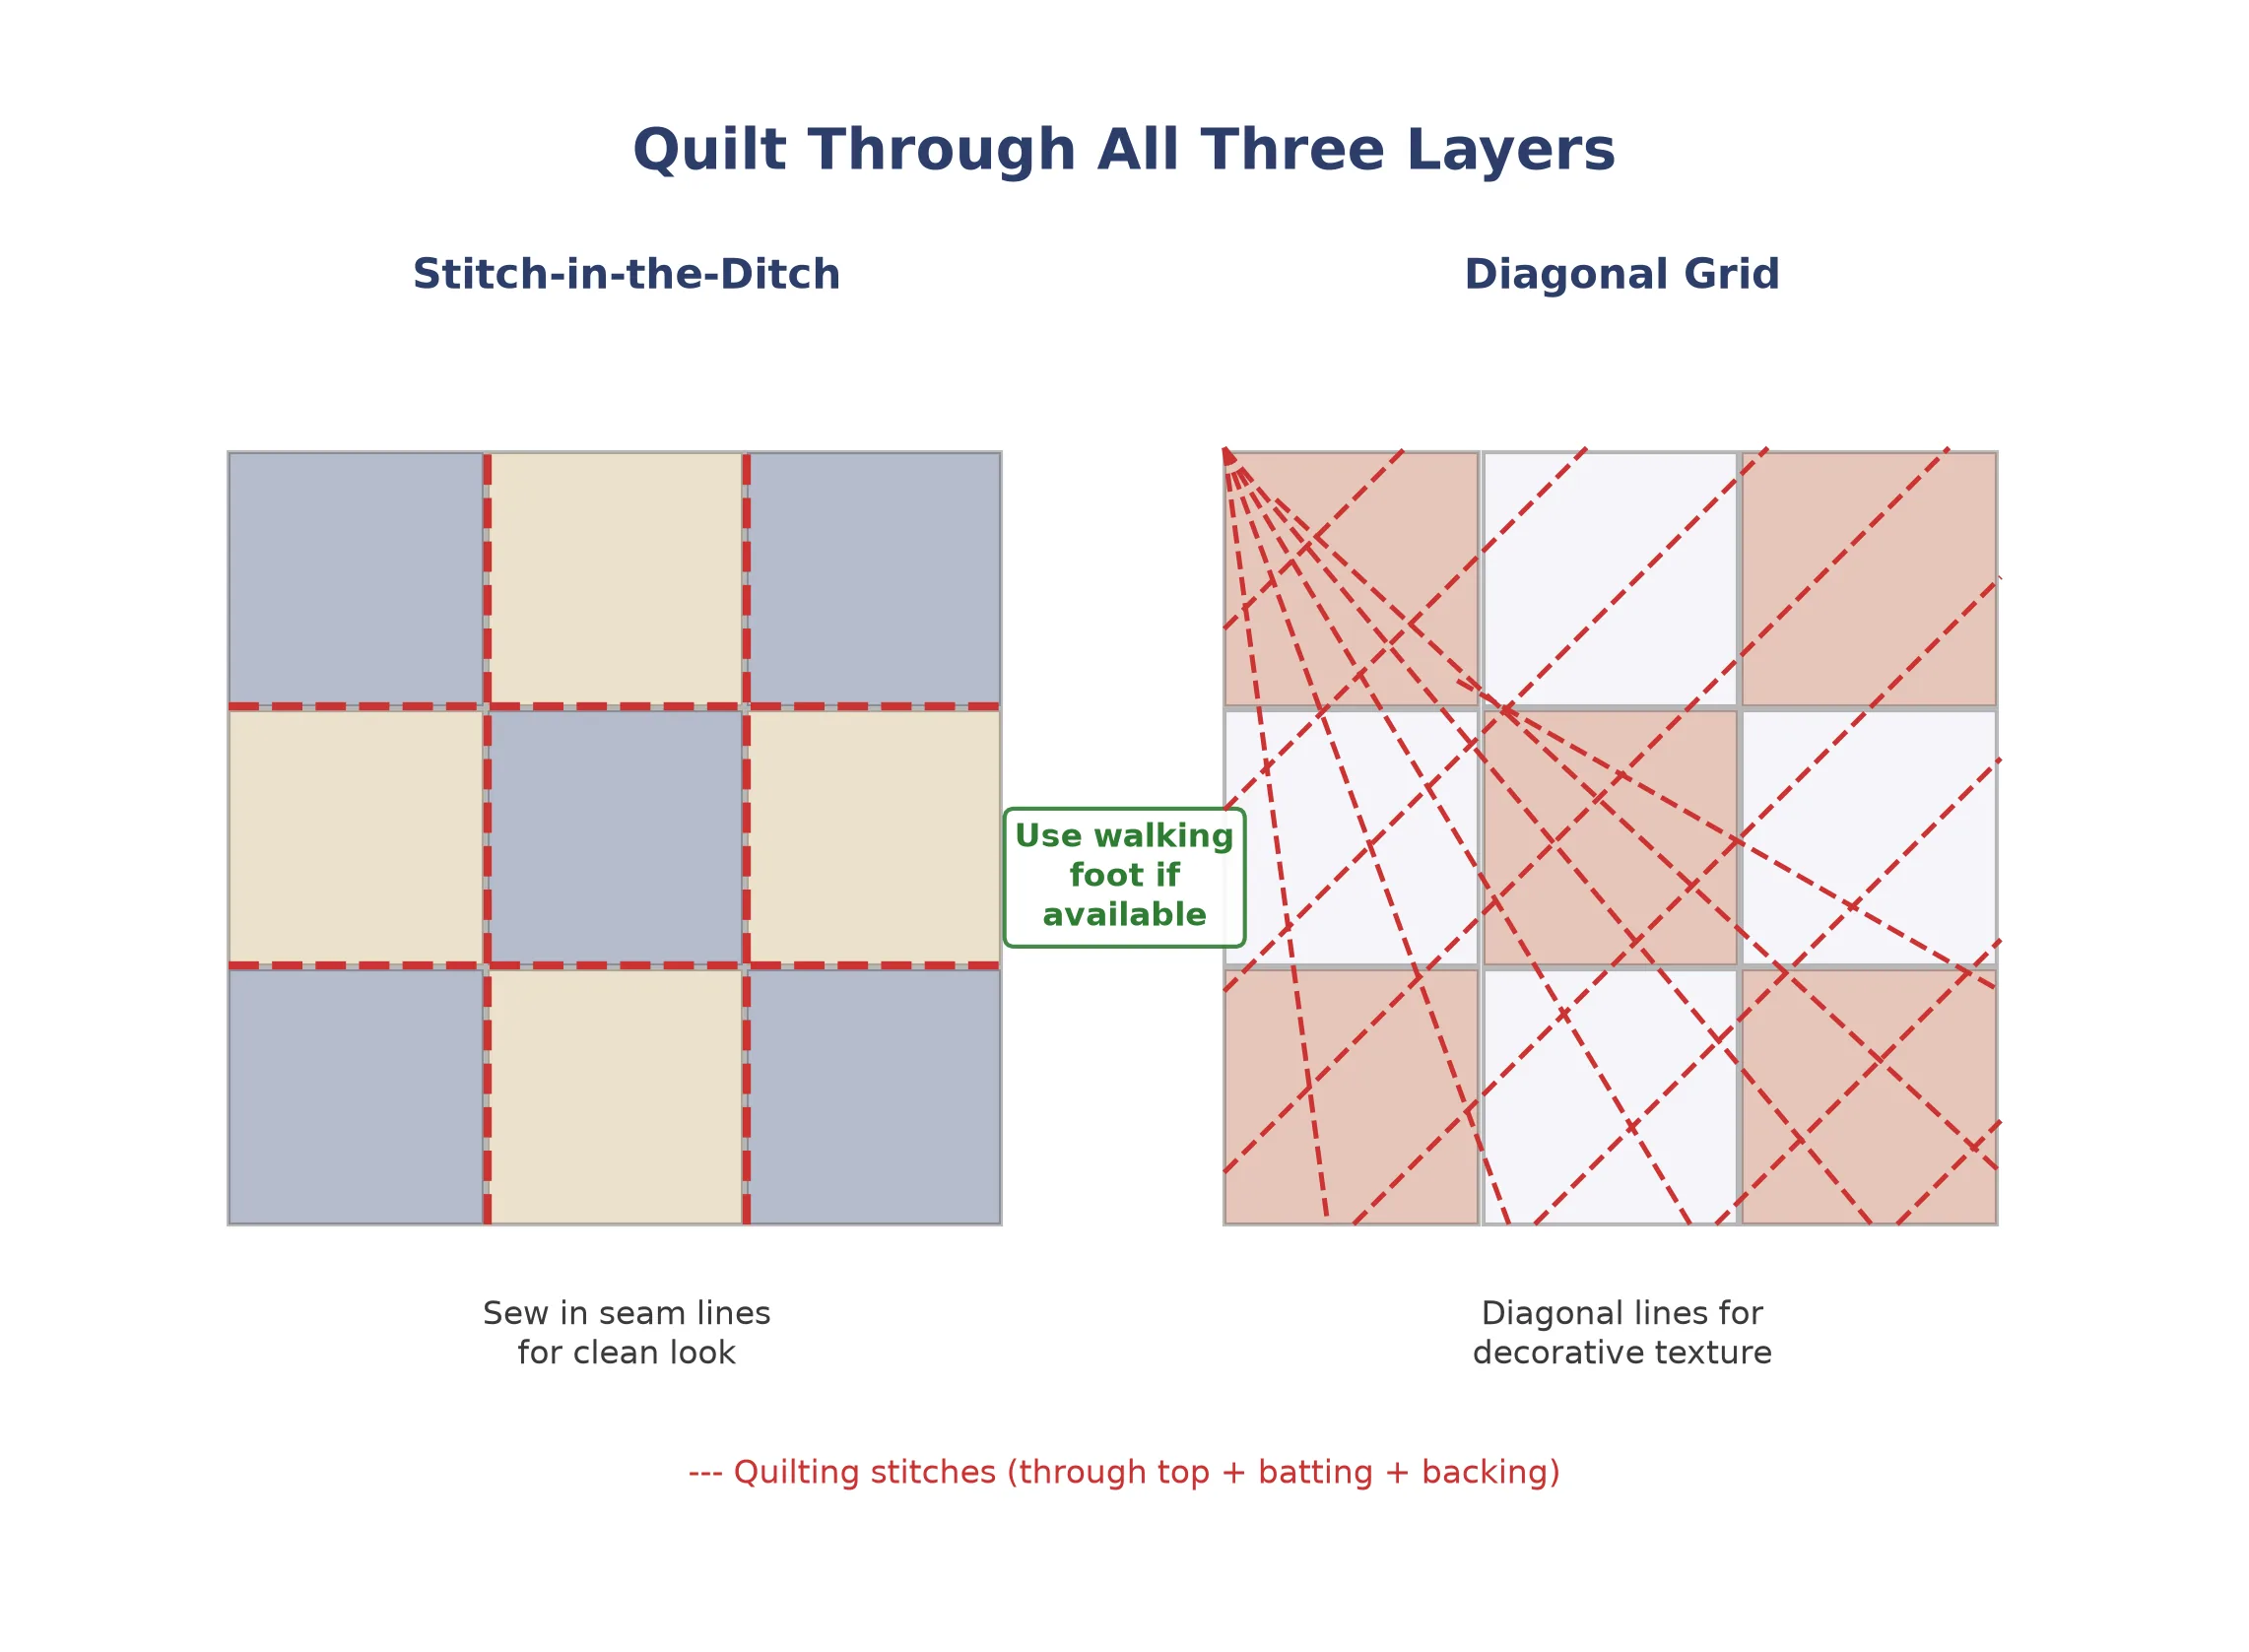
Quilting is the process of stitching through all three layers to hold them together permanently and add decorative texture. For your first coasters, the simplest and most effective quilting method is stitch-in-the-ditch, which means sewing directly in the seam lines of the patchwork block. Using a walking foot if you have one (or your standard presser foot if you do not), sew along each of the horizontal and vertical seam lines of the 9-patch grid, stitching through all three layers. This creates a clean, subtle quilting pattern that emphasizes the geometry of the block without adding visual clutter. If you prefer a more decorative look, you can quilt diagonal lines across the block to create a diamond grid, or stitch a simple X from corner to corner. Whatever pattern you choose, make sure to quilt at least two lines in each direction to secure the batting firmly and prevent it from bunching during washing.
Trim, Bind, and Finish
Once all four coasters are quilted, use your rotary cutter and ruler to trim each coaster to a perfect 5½-inch square, cutting through all three layers evenly. Make sure the edges are straight and the corners are square. For the binding, cut 2-inch-wide strips from your binding fabric on the straight grain. Join the strips end to end with diagonal seams to create one continuous strip, then press the strip in half lengthwise with wrong sides together. Align the raw edges of the binding strip with the raw edge of the coaster and sew around all four sides with a ¼-inch seam allowance, mitering the corners as you go. Fold the binding to the back of the coaster and hand-stitch it in place using a blind stitch or ladder stitch for an invisible finish. Repeat for all four coasters, and your patchwork coaster set is complete!