In This Tutorial
Why Sew a Door Draft Stopper?
Every winter, I watch my heating bill climb and feel that icy breeze creeping under the front door. For years, I tried those flimsy foam draft blockers from the hardware store, and every year they disintegrated by February. Then I sewed my own door draft stopper from a scrap of upholstery fabric and a bag of rice, and it has been going strong for three winters now.
A DIY draft excluder (also called a door snake or draft blocker) is one of the most practical sewing projects you can make. It takes less than an hour from start to finish, requires only basic straight-seam skills, and costs a fraction of what you would pay for a store-bought version. More importantly, it actually works. According to the U.S. Department of Energy, sealing air leaks around doors and windows can reduce your heating and cooling costs by 10 to 20 percent. That gap at the bottom of your door is often the single biggest source of cold air infiltration in a room.
This door draft stopper sewing tutorial is designed for absolute beginners. If you can thread your machine and sew a straight line, you can make this project. In fact, if you have been working through our First Stitches series, this is the perfect next step — a real, functional project that uses the skills you have been building.
In this tutorial, I will walk you through measuring your door, choosing the right filling, sewing a clean tube, and finishing the ends for a polished look. I will also share several variations, including a double-sided version that straddles the door and a removable cover design that makes washing easy. Let us get started.
Materials and Tools
One of the things I love most about this project is how little you need. You can make a perfectly effective fabric draft blocker from materials you probably already have at home.
Fabric and Filling
- Medium- to heavy-weight fabric, 1/2 yard (0.45 m) — cotton canvas, denim, upholstery fabric, or flannel
- Filling material, approximately 4 lbs (1.8 kg) — see filling guide below
- Matching all-purpose thread
Tools
- Sewing machine (or needle for hand sewing)
- Fabric scissors
- Tape measure
- Iron and ironing board
- Straight pins or sewing clips
- Funnel (or a rolled-up piece of paper)
- Long dowel or broom handle (for turning)
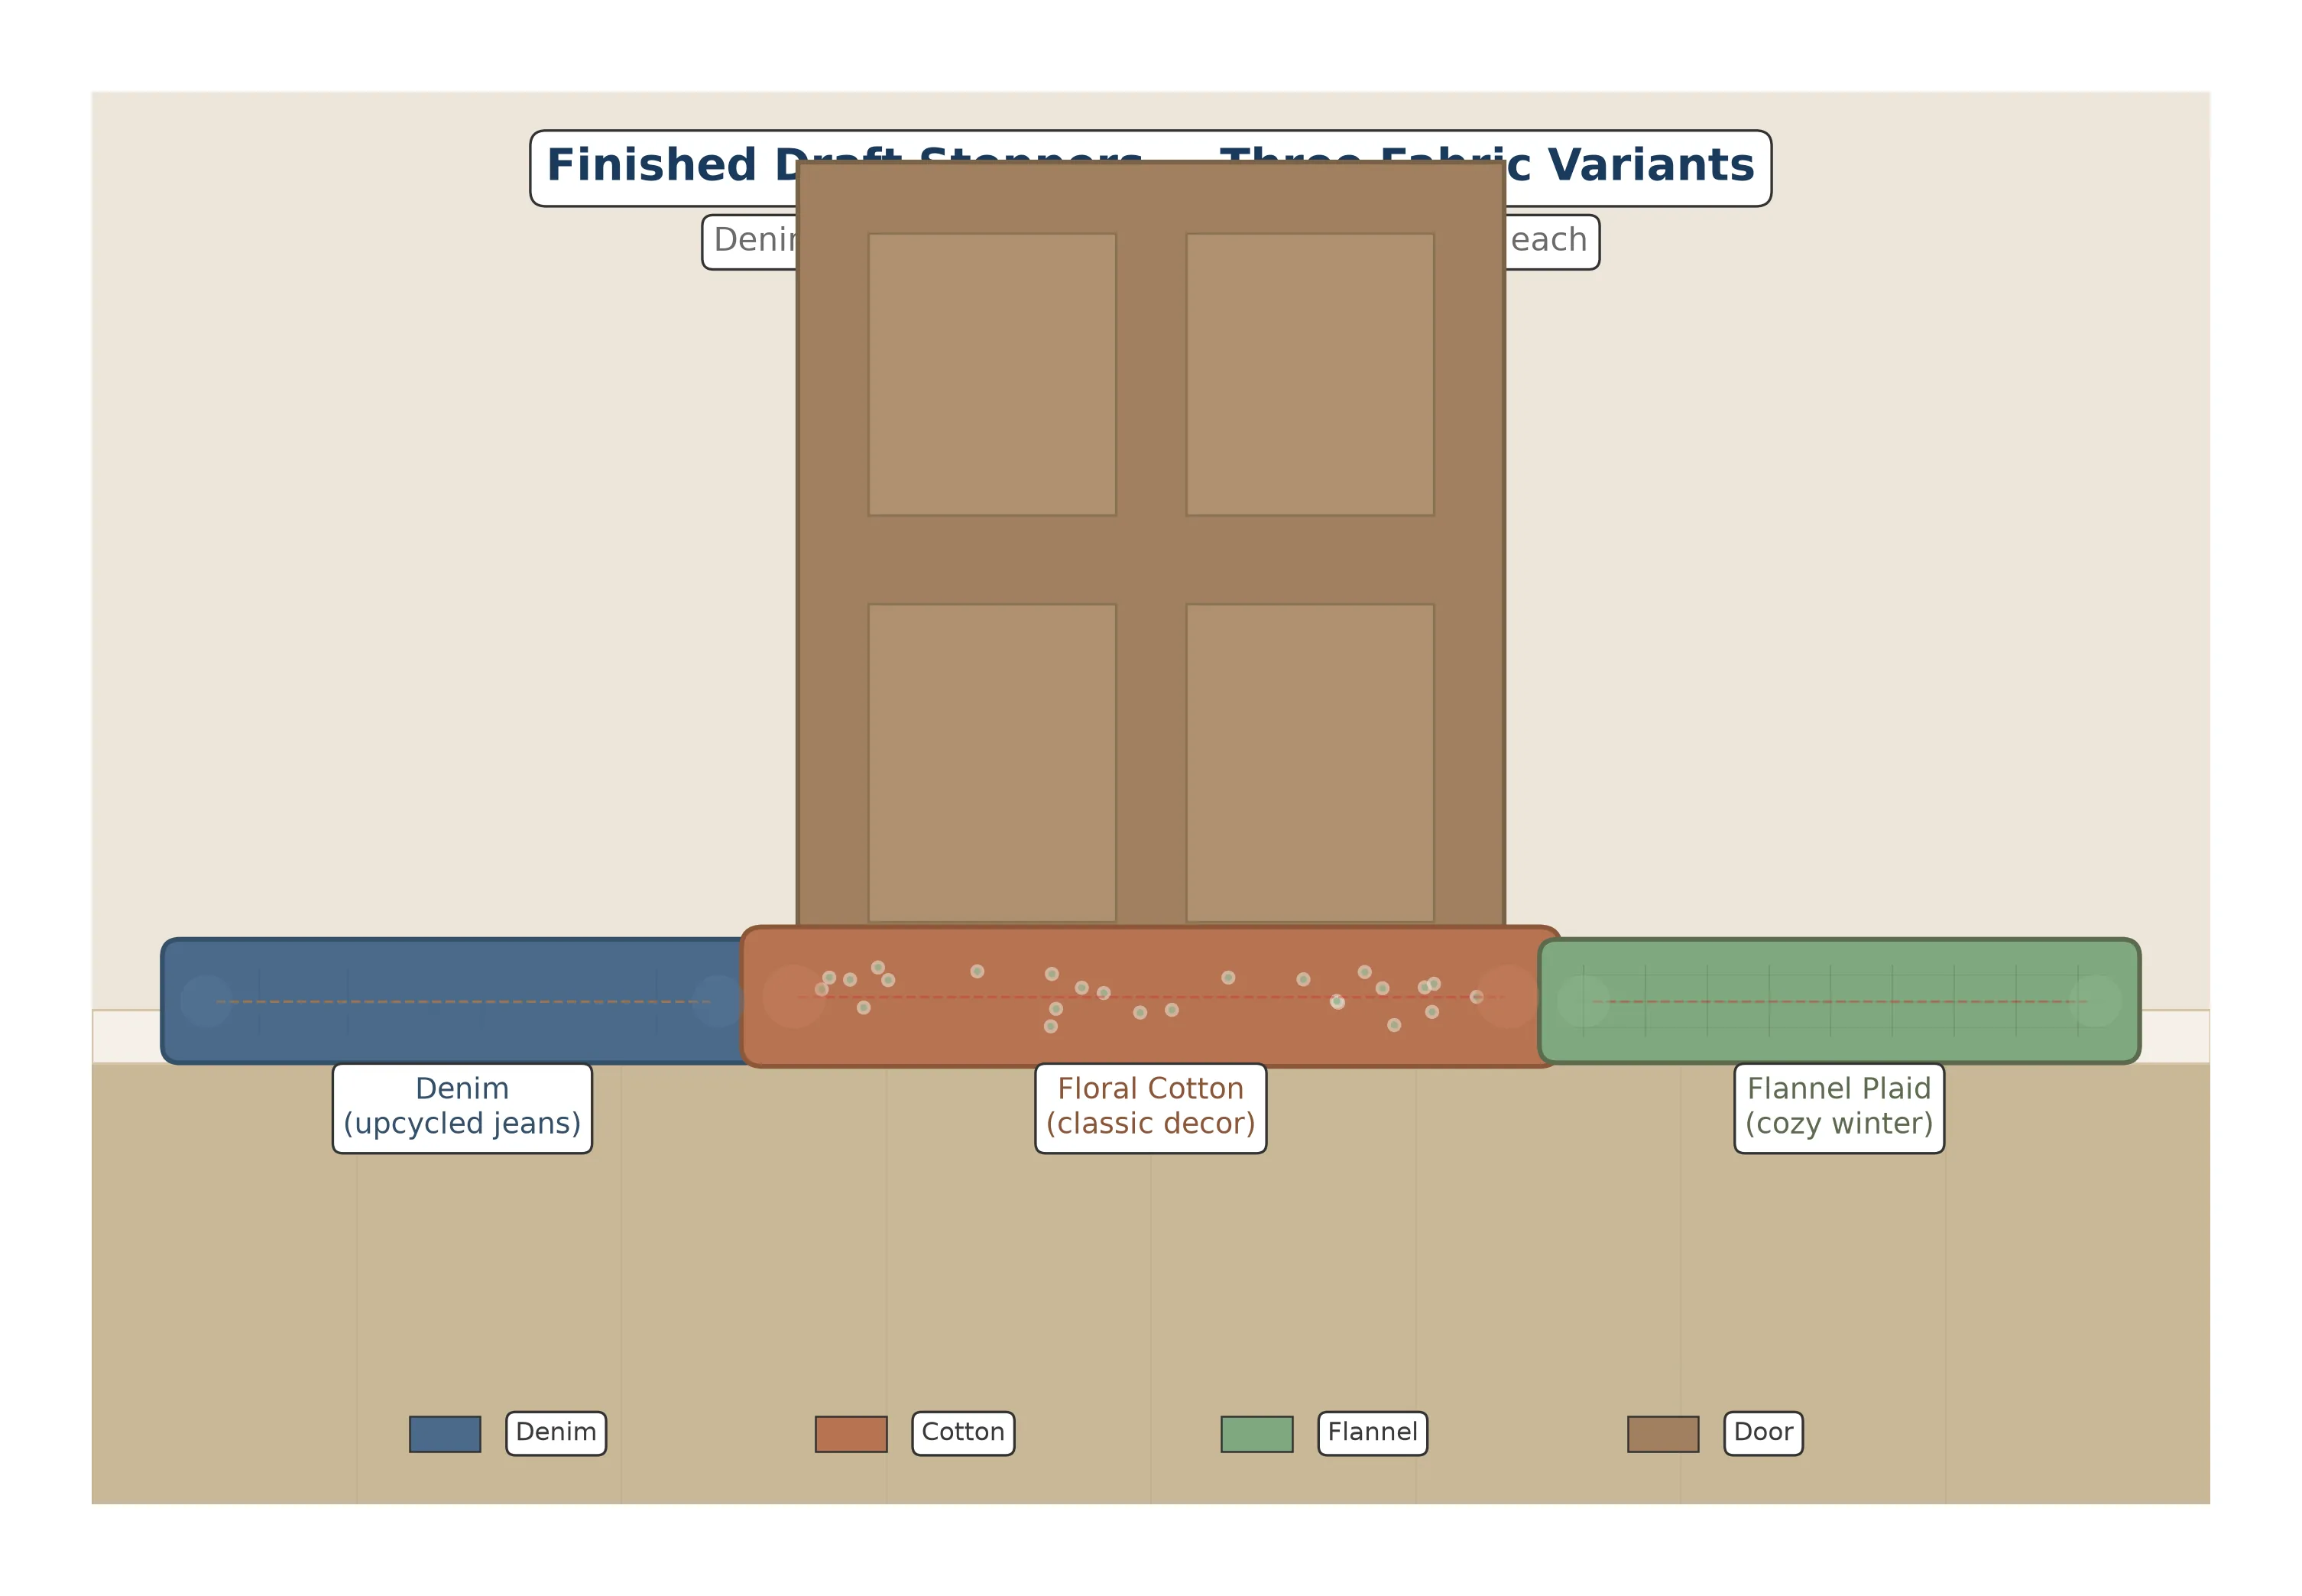
Heavier fabrics like canvas, denim, and upholstery-weight cotton work best because they hold their shape and resist wear from being pushed along the floor. If you want a softer, cozier look, flannel or fleece works well too, but you may need to add a layer of interfacing for structure. I made one from an old pair of jeans and it turned out beautifully — upcycling at its best!
Choosing Your Filling
The filling is what gives your door draft stopper its weight and draft-blocking power. A lightweight stopper will shift every time someone walks past, while a properly weighted one stays put and seals the gap effectively. Here is a comparison of the most common filling options:
| Filling Material | Weight | Washable? | Cost | Best For |
|---|---|---|---|---|
| Rice + Poly-fill (50/50) | Medium-heavy | Spot clean only | ~$5 | All-around best performance |
| Dried rice | Heavy | No | ~$3 | Maximum draft blocking |
| Dried beans or lentils | Heavy | No | ~$4 | Budget-friendly weight |
| Polyester fiberfill | Light | Yes | ~$6 | Washable, kid-friendly |
| Clean sand | Very heavy | No | ~$2 | Outdoor doors, high wind |
| Cat litter (clean, unscented) | Heavy | No | ~$4 | Quick and cheap |
In my experience, the 50/50 rice and poly-fill mix gives the best results. The rice provides the weight to hold the stopper in place, while the poly-fill adds softness and flexibility so the tube conforms to uneven floors. If you have pets or small children, avoid sand and cat litter, which can be messy if the seam splits.
If you use rice, beans, or any organic filling, keep your draft stopper away from wet floors and do not machine wash it. Moisture can cause the filling to sprout, mold, or attract insects. For damp entryways, use poly-fill only or sand sealed inside a plastic bag before inserting into the fabric tube.
Measure Your Door
Close the door and measure the width of the gap at the base from one side of the door frame to the other. Most interior doors are 30 to 32 inches (76 to 81 cm) wide, while exterior doors are typically 36 inches (91 cm). Measure at floor level, because the gap you are trying to seal is right at the bottom.
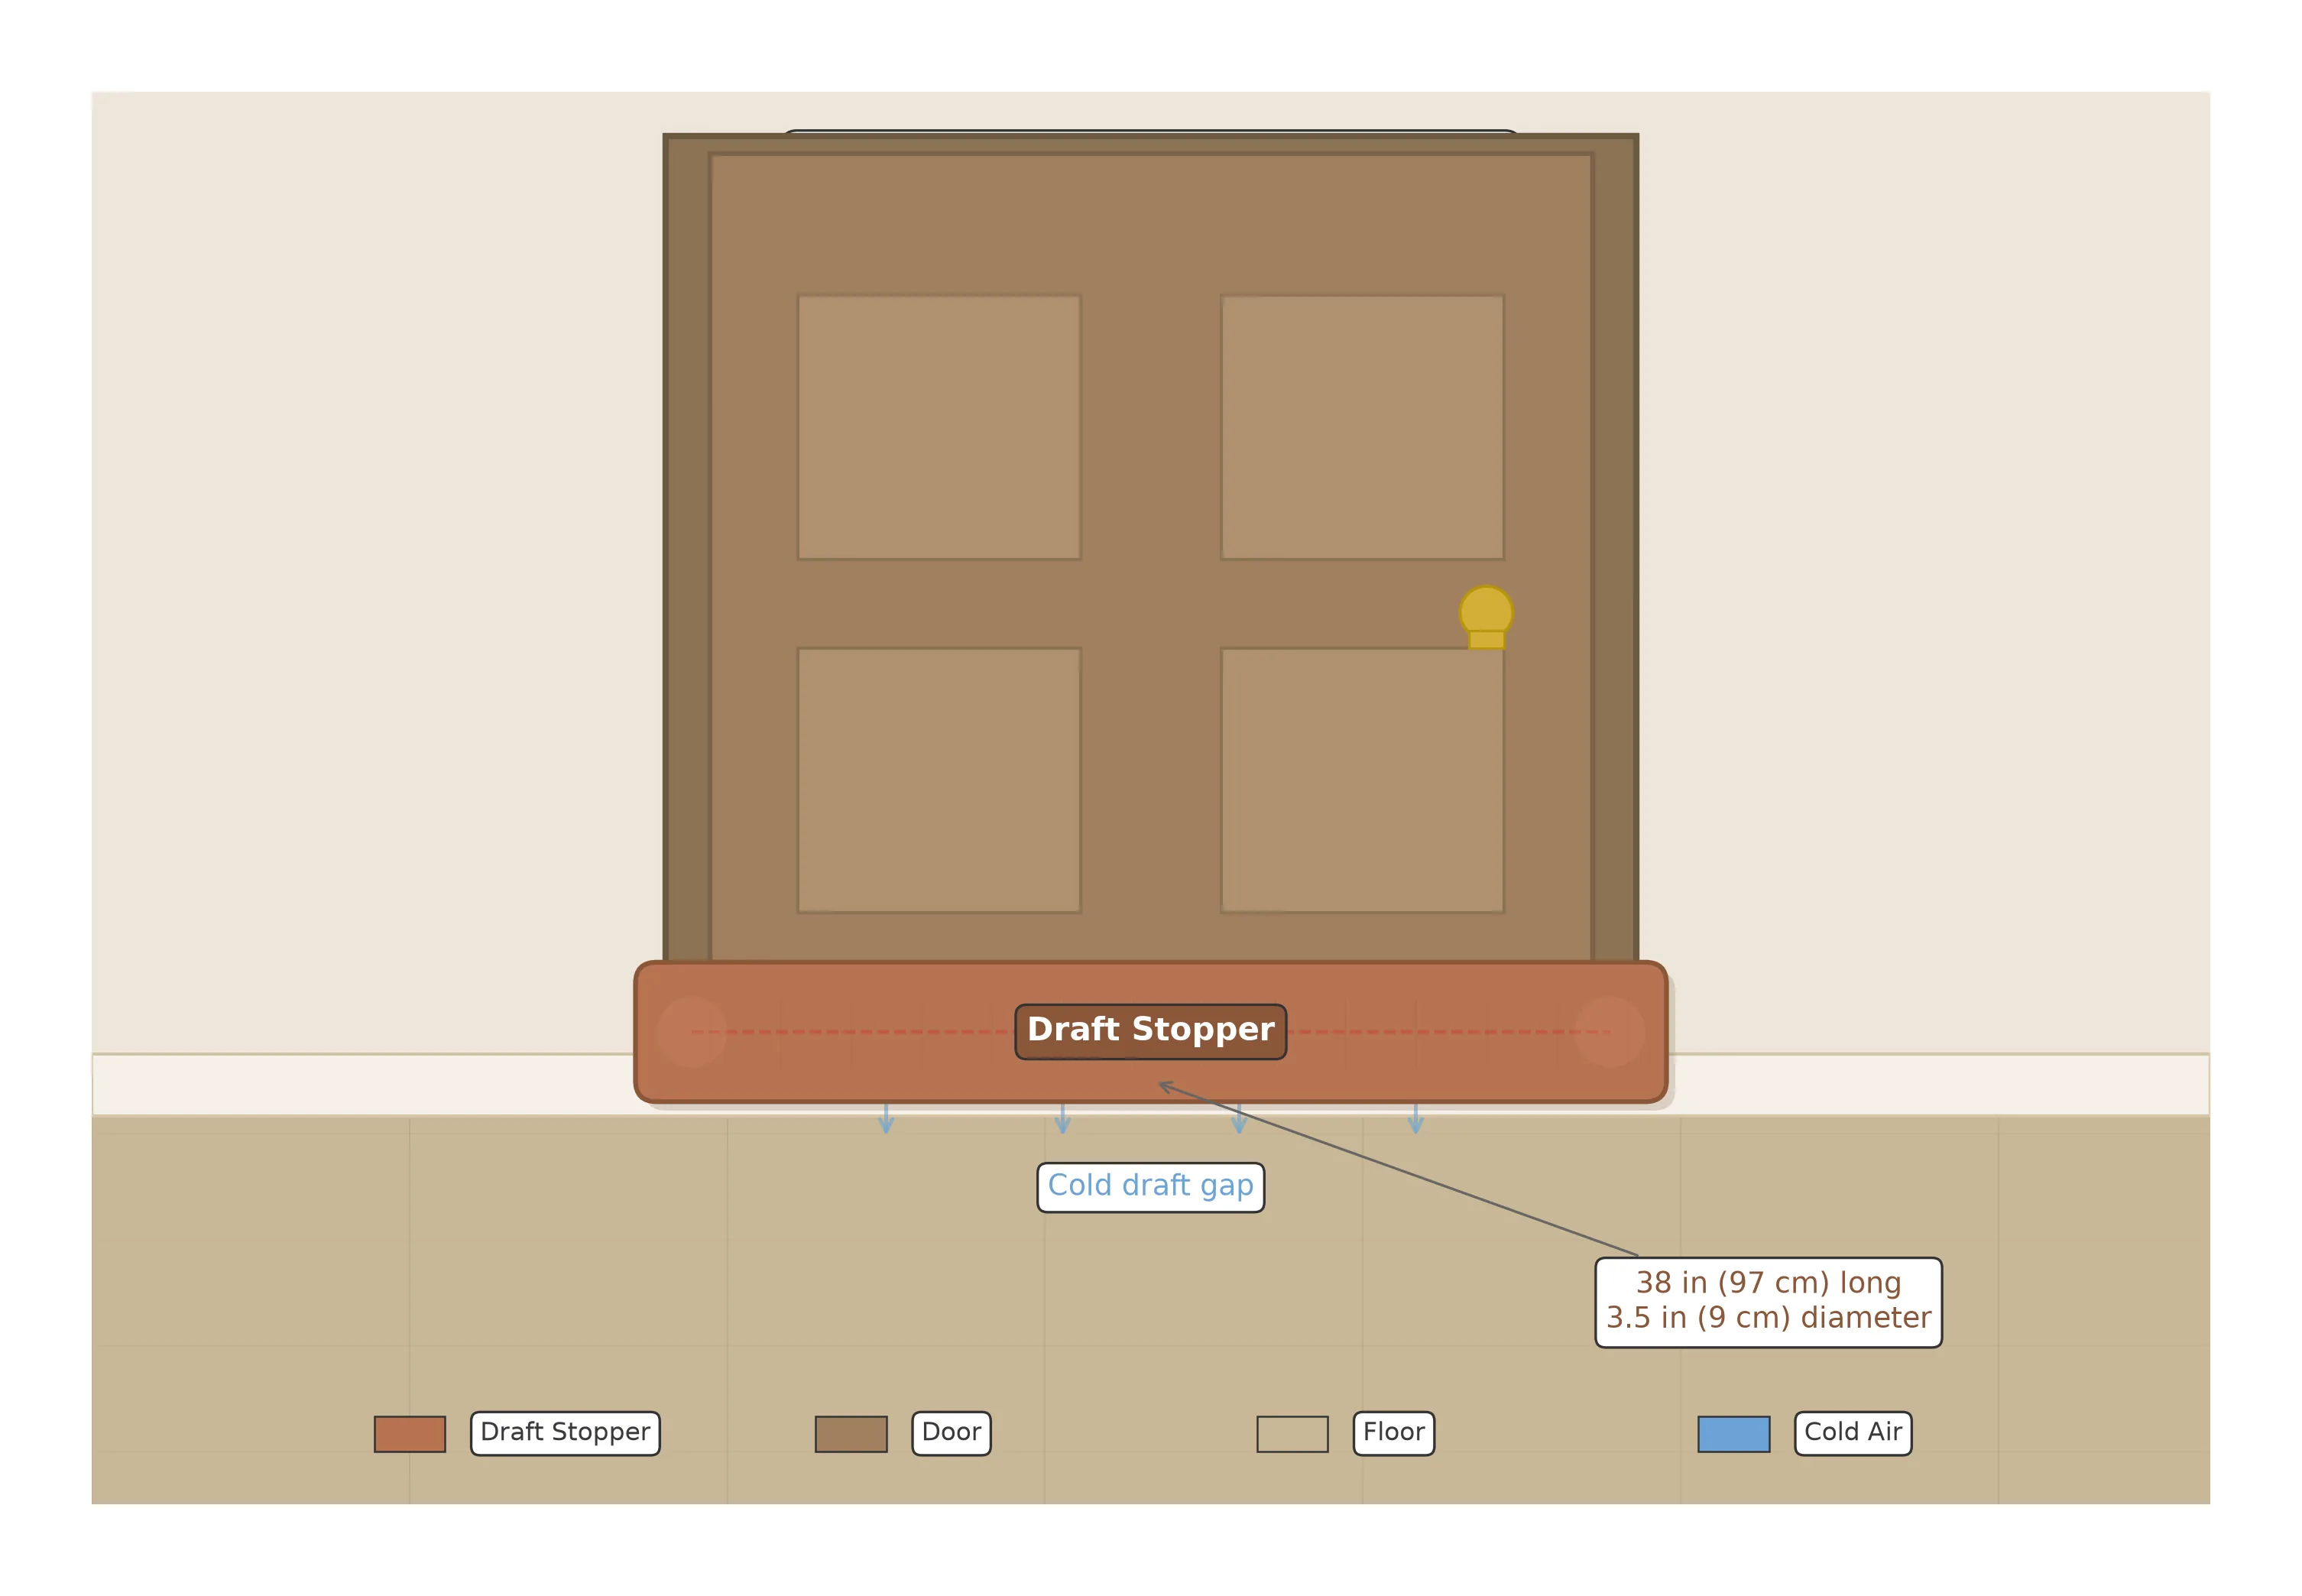
Add 2 inches (5 cm) to your measurement. This extra length ensures the draft stopper overlaps the door frame slightly on each side, preventing cold air from sneaking around the ends. For a 36-inch (91 cm) door, your finished draft stopper should be about 38 inches (97 cm) long.
Also measure the height of the gap between the bottom of the door and the floor. Most gaps are between 1/2 and 1 inch (1.3 to 2.5 cm). If your gap is unusually large (more than 1.5 inches or 3.8 cm), you may want to increase the diameter of your tube by cutting the fabric wider. I will cover sizing adjustments in the cutting step.
Cut the Fabric
Based on your door measurement, cut a rectangle of fabric. For a standard 36-inch (91 cm) exterior door, cut a piece measuring 40 × 8 inches (102 × 20 cm). The extra length beyond the finished size accounts for seam allowances and the rounded ends.
If your door is narrower or wider, adjust the length accordingly: finished door width + 4 inches (10 cm) for seam allowances and overlap. The 8-inch (20 cm) width will produce a finished tube approximately 3.5 inches (9 cm) in diameter, which is ideal for most door gaps.
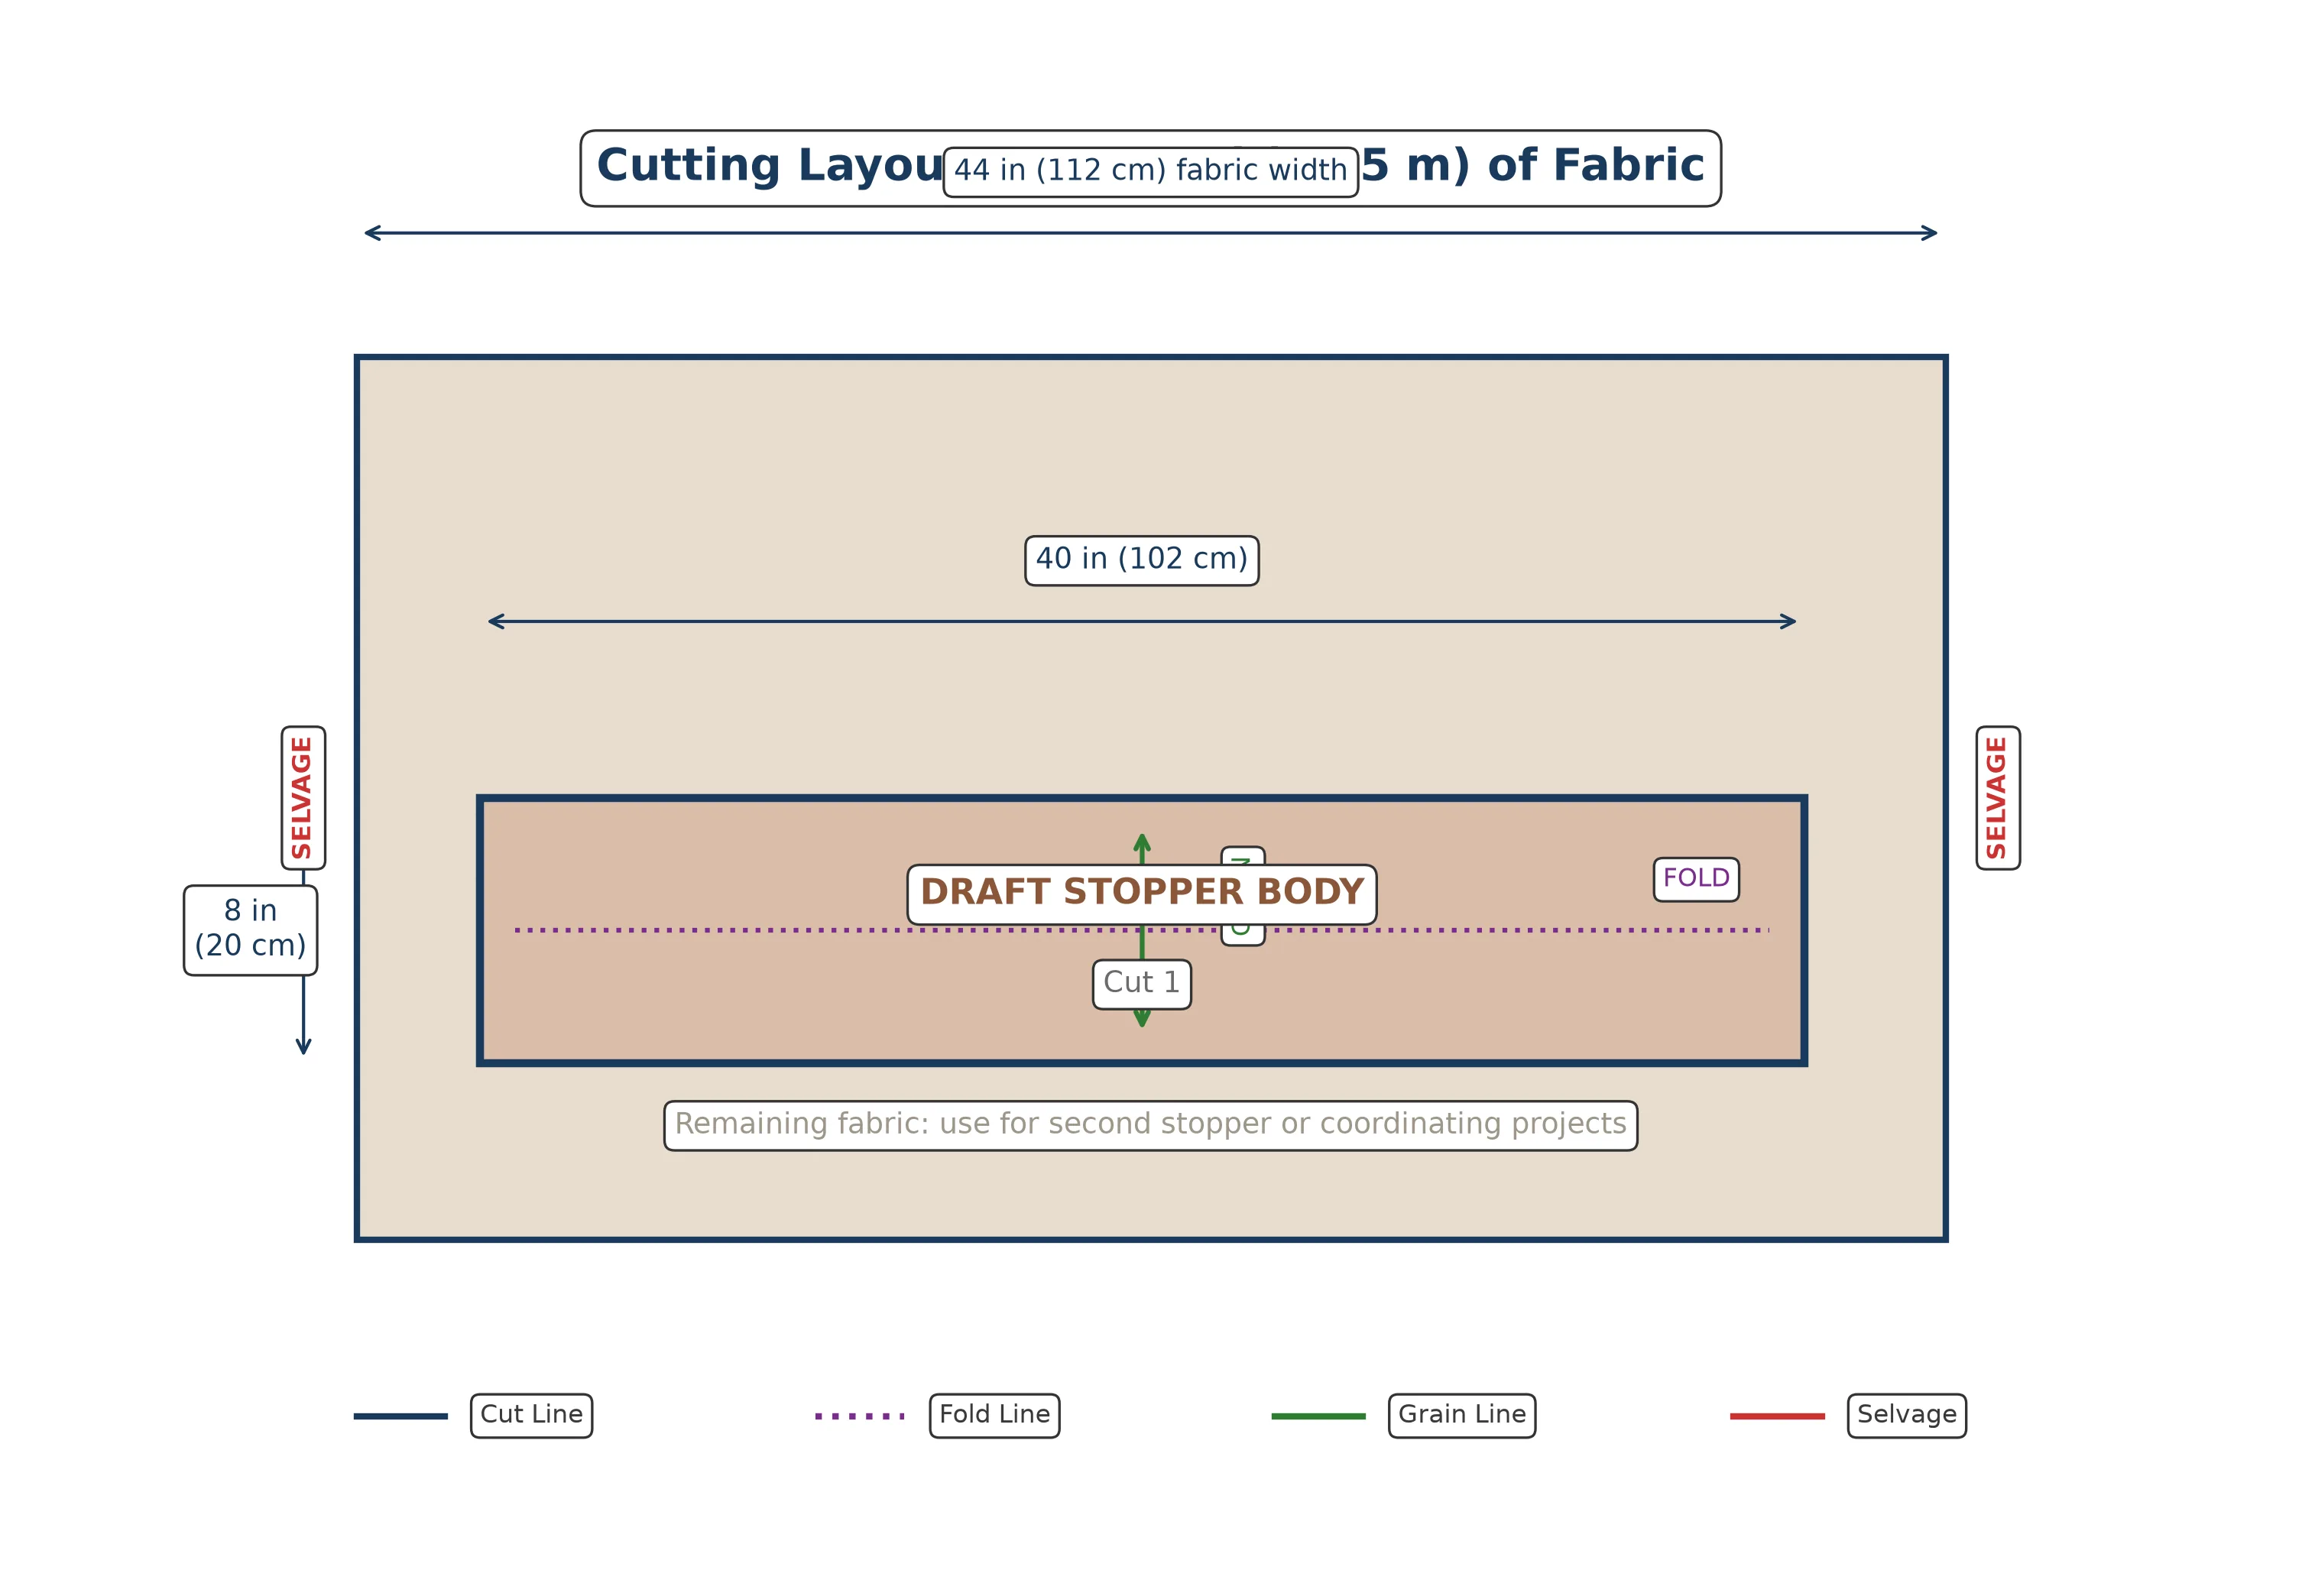
For very large gaps (over 1.5 inches or 3.8 cm), cut the fabric 10 inches (25 cm) wide instead of 8 inches (20 cm). For narrow interior doors with small gaps, 6 inches (15 cm) wide is sufficient. The wider the fabric, the thicker the finished tube.
Fold and Pin
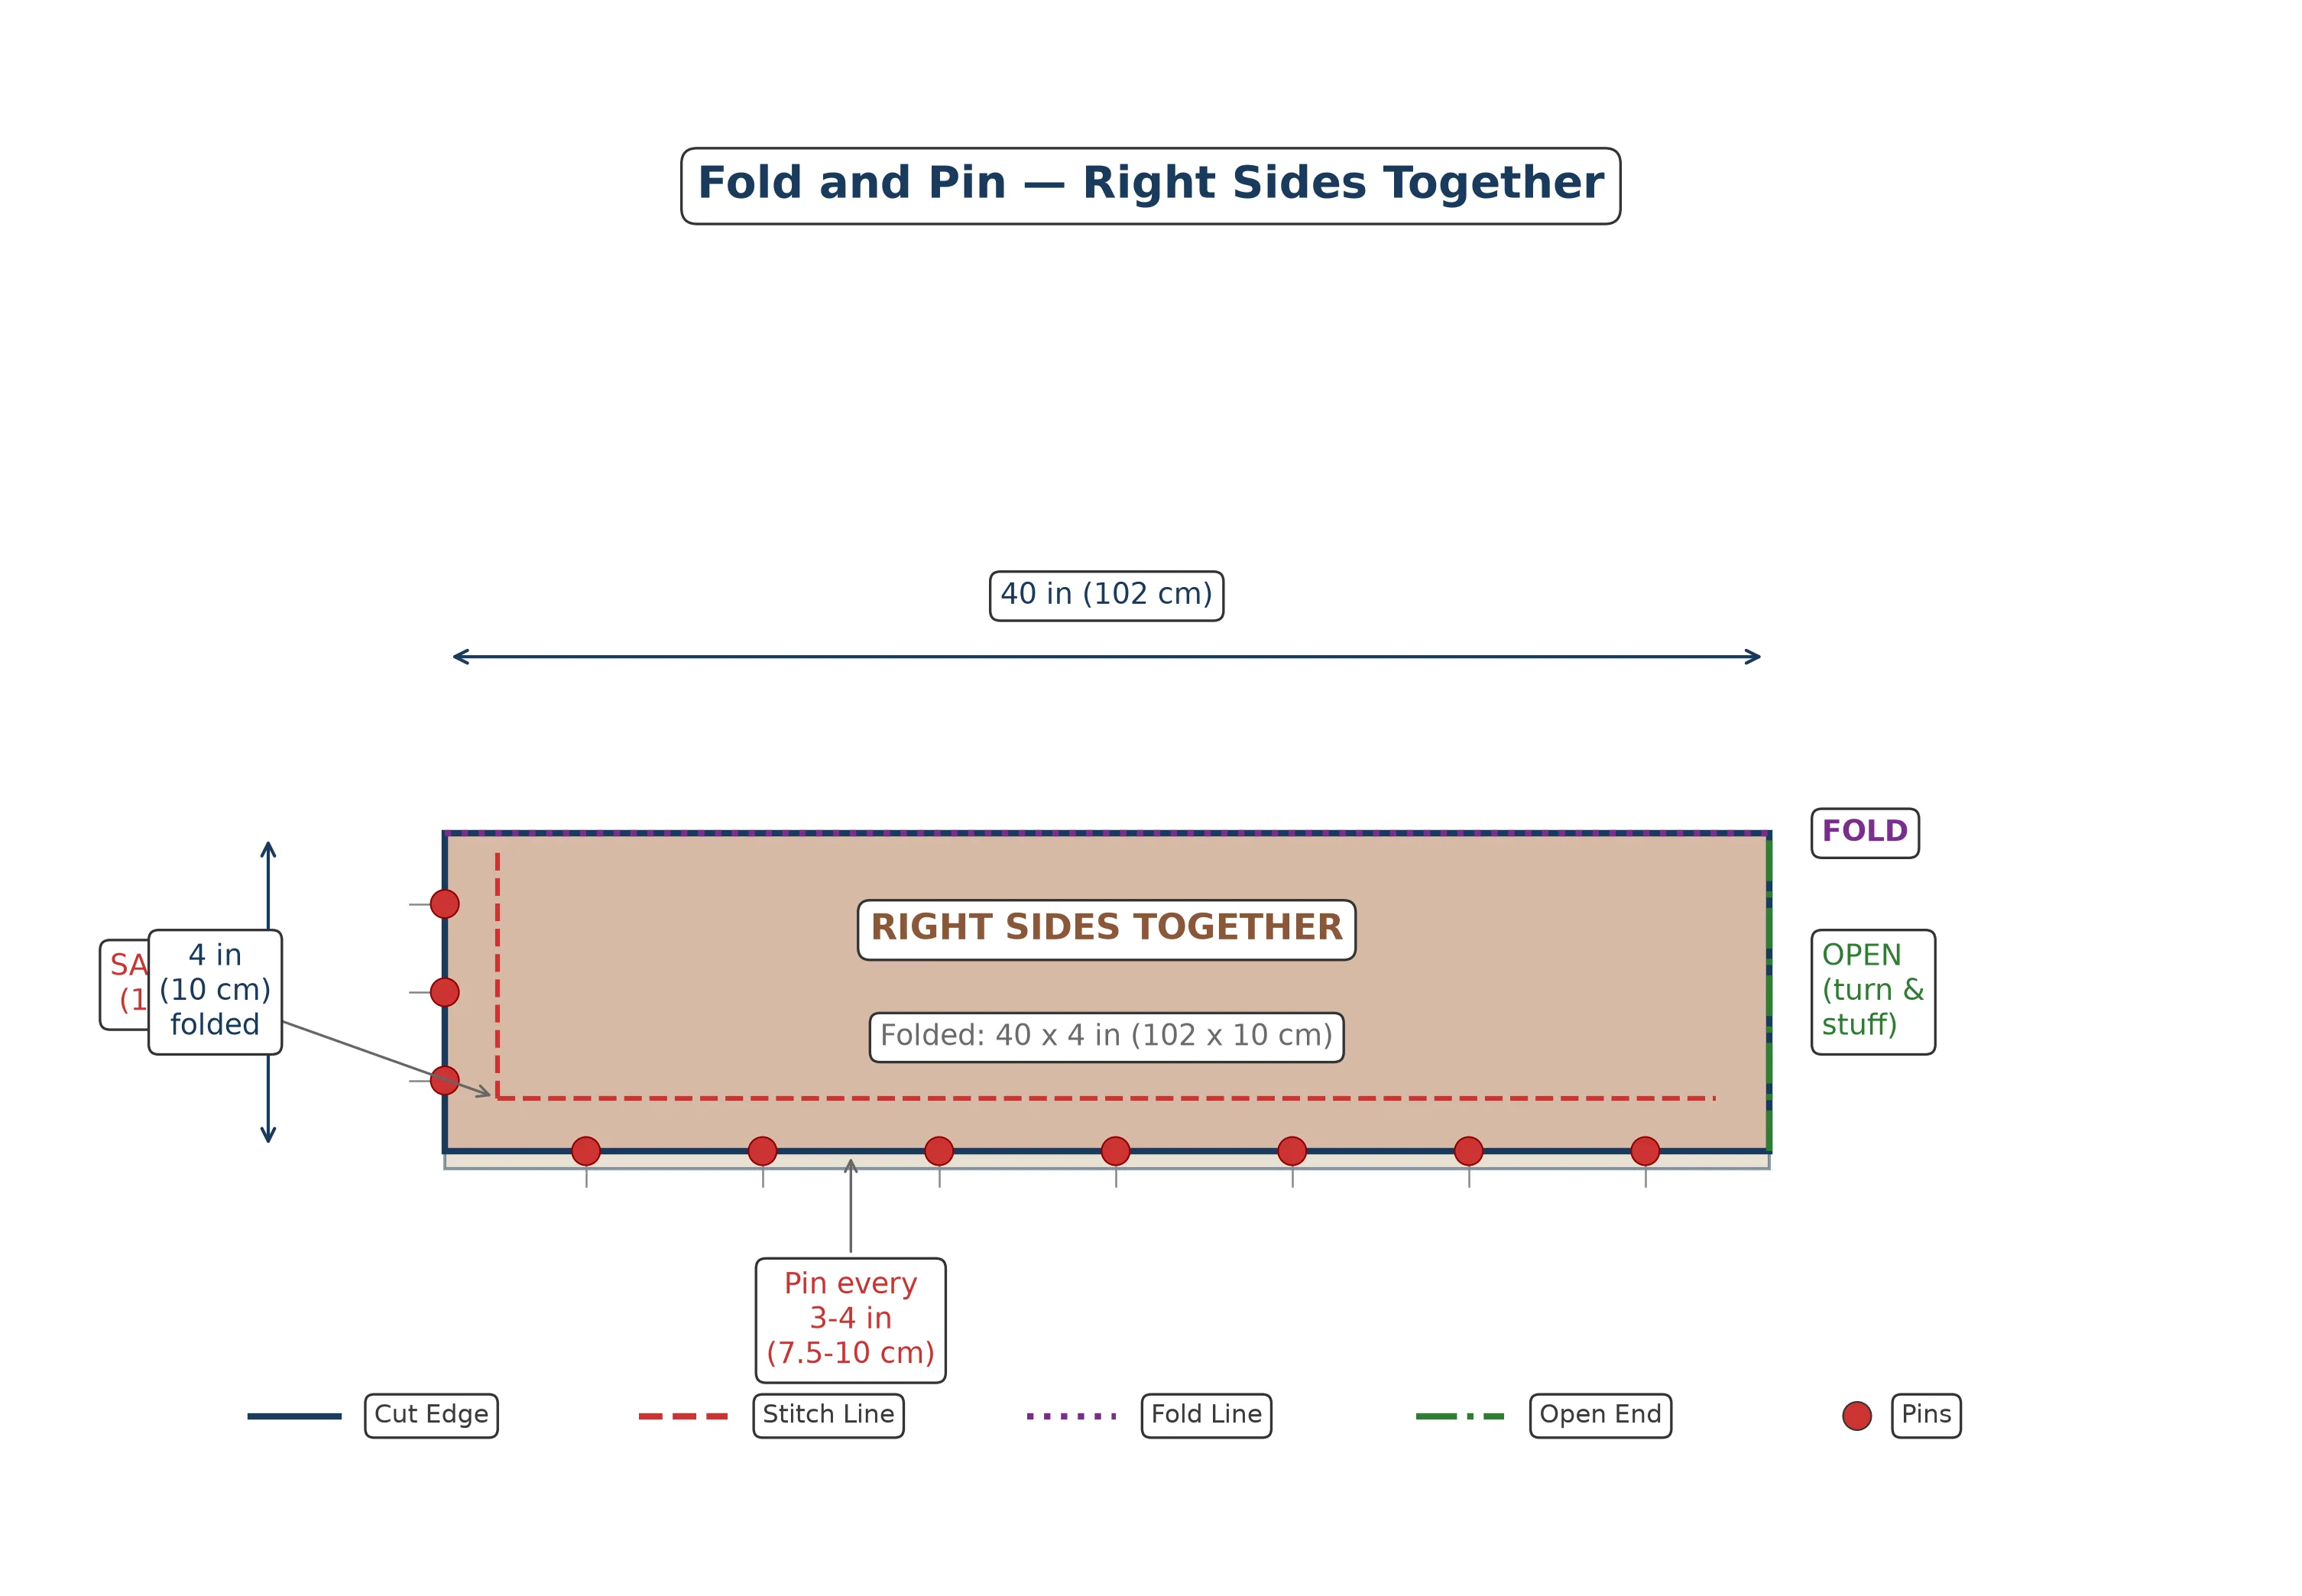
Fold the fabric rectangle in half lengthwise, with the right sides together. The right side is the printed or "pretty" side of the fabric. After folding, your piece should measure approximately 40 × 4 inches (102 × 10 cm).
Pin along the long open edge and across one short end. Leave the other short end completely open — this is where you will turn the tube right side out and insert the filling later. Place pins every 3 to 4 inches (7.5 to 10 cm) along the long edge to keep the layers aligned.
If your fabric is slippery or tends to shift, use sewing clips instead of pins. I find that clips work especially well with fleece and flannel, which can be distorted by pin holes.
Sew the Tube
Using a 1/2 inch (1.3 cm) seam allowance, stitch along the pinned long edge and the pinned short end. Use a straight stitch with a medium stitch length (about 2.5 mm). Backstitch at the beginning and end of each seam to lock the stitches and prevent unraveling.
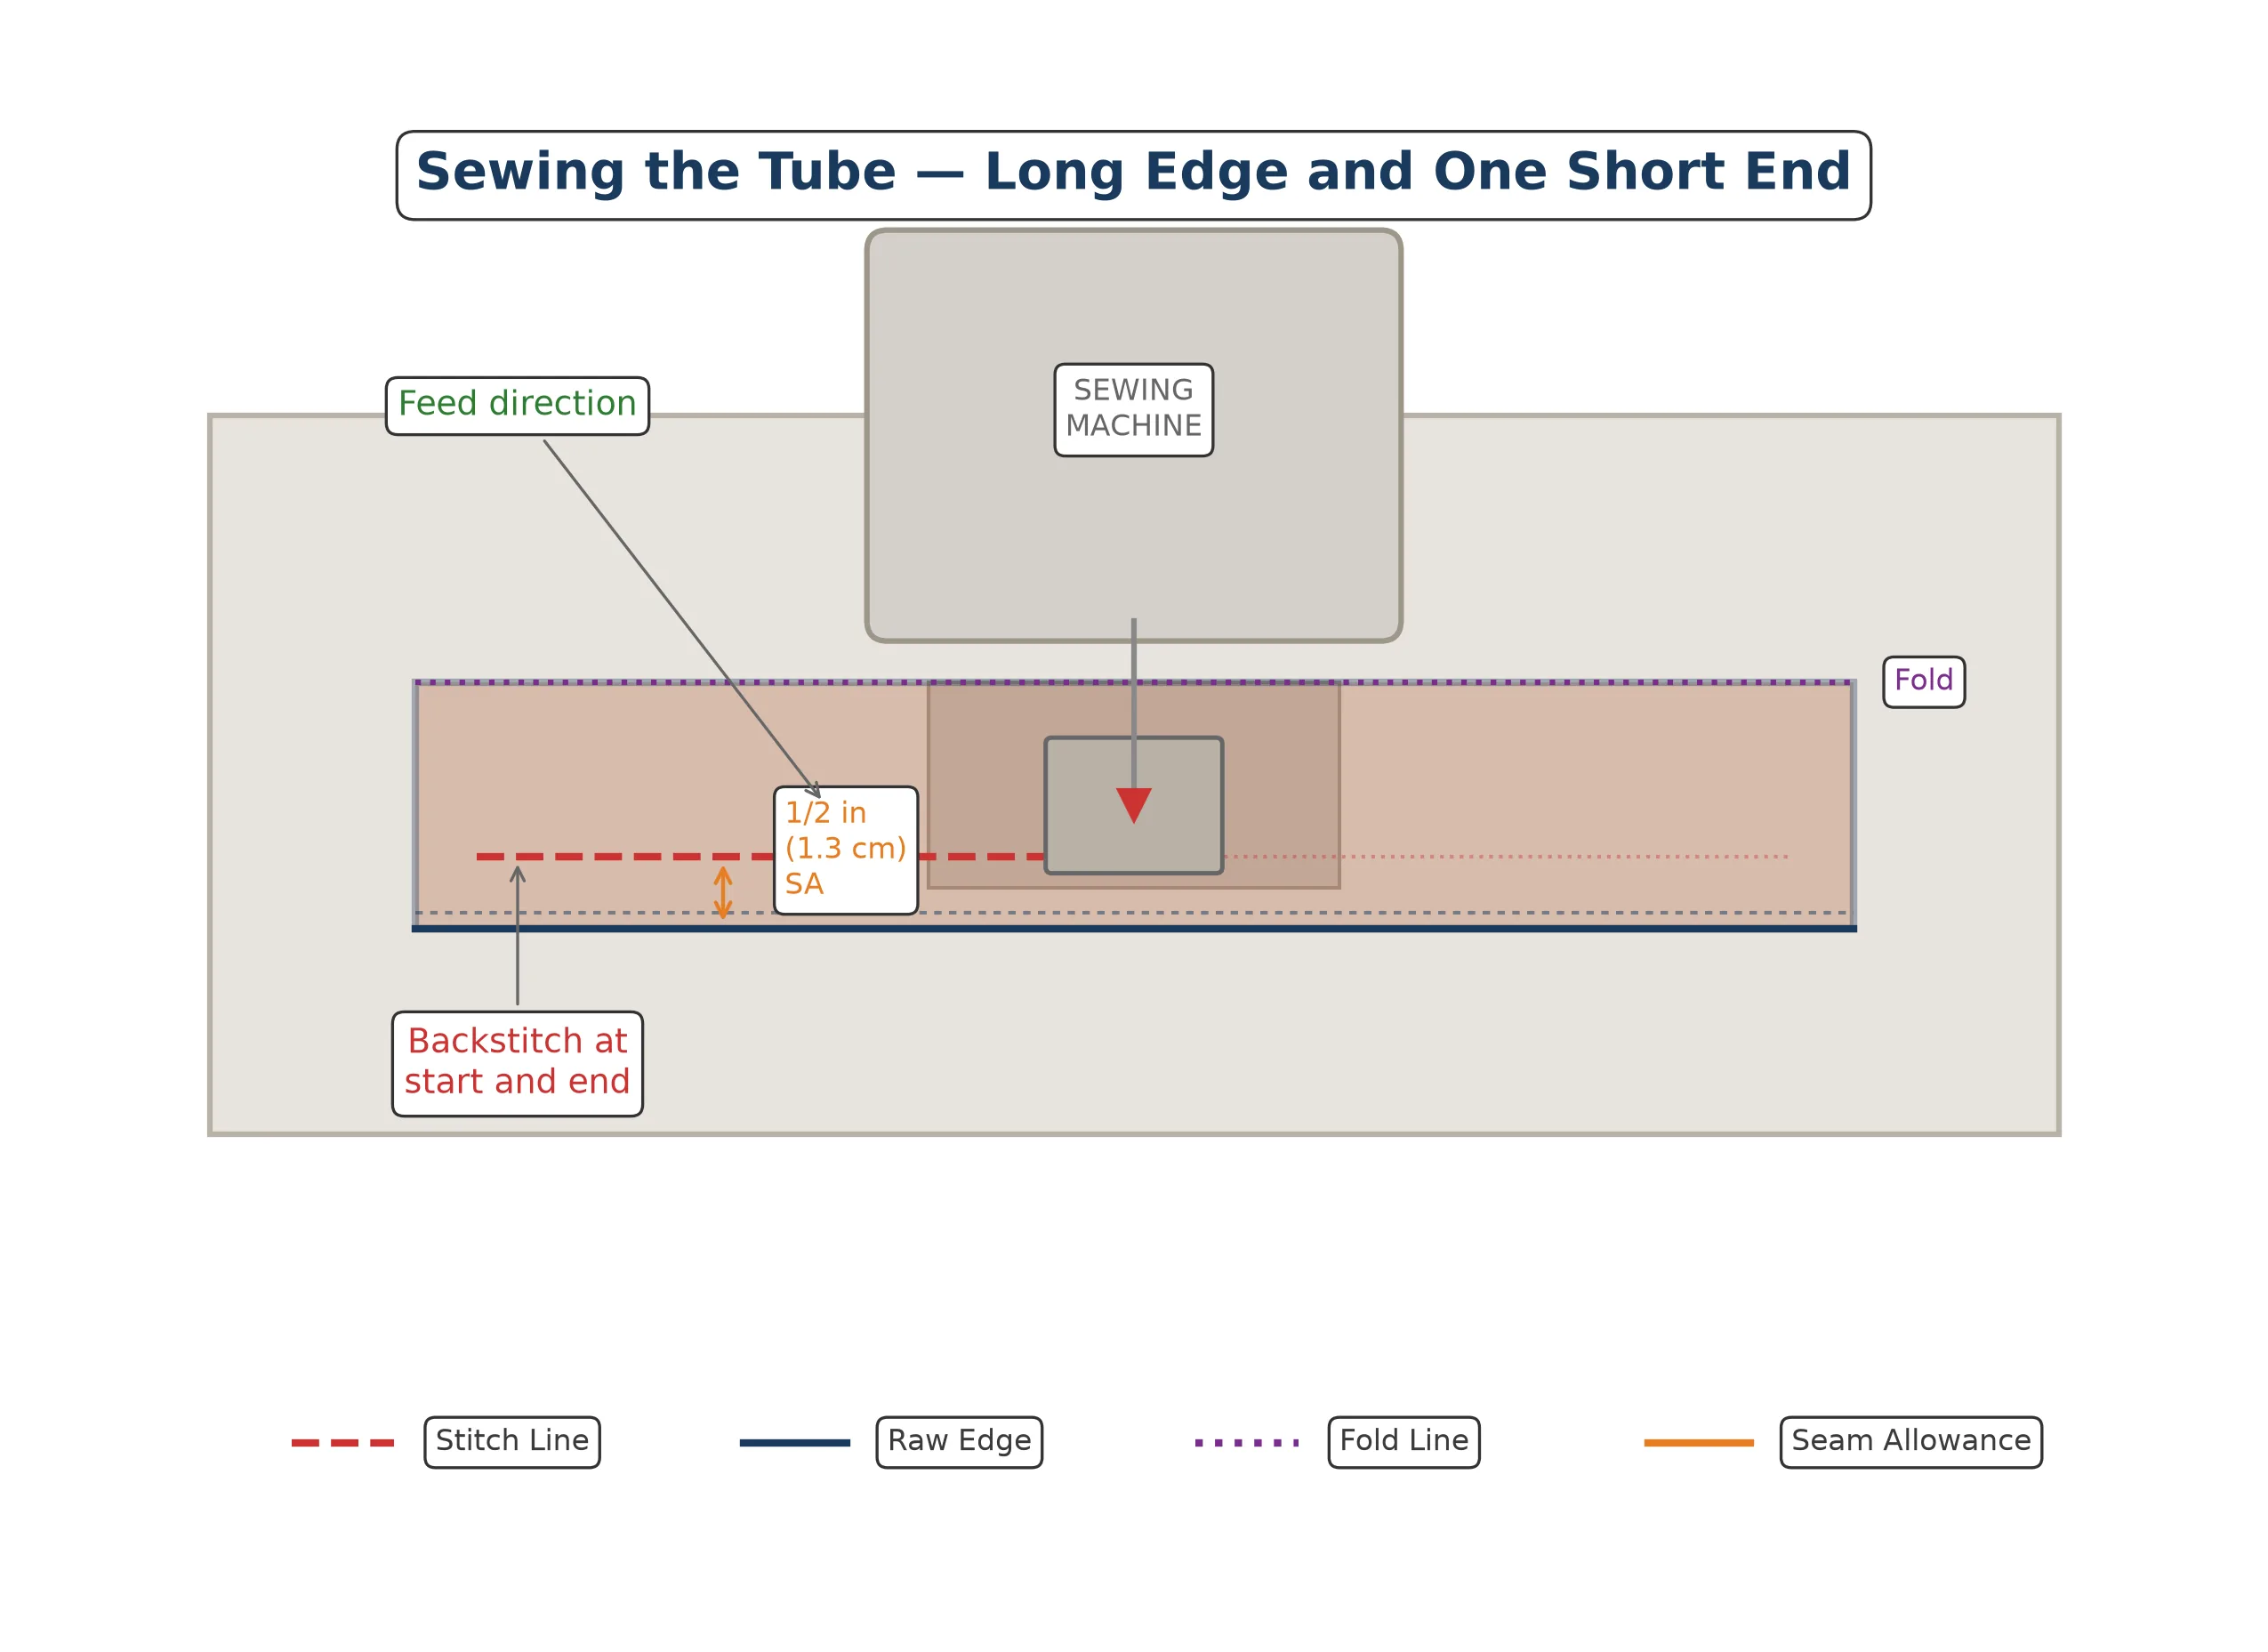
When you reach the corner where the long seam meets the short end, stop with the needle down in the fabric, lift the presser foot, pivot 90 degrees, lower the foot, and continue stitching. This creates a clean, sharp corner.
At the open end, you may want to reinforce the edges by stitching a small zigzag or overlock stitch along the raw edges. This prevents fraying while you handle the tube during turning and stuffing. If your machine does not have a zigzag stitch, a line of straight stitching 1/4 inch (6 mm) from the raw edge works fine.
Turn Right Side Out
Reach through the open end and grab the closed corner of the tube. Gently pull it through the opening to turn the entire tube right side out. This can be a bit fiddly with a long, narrow tube, so take your time.
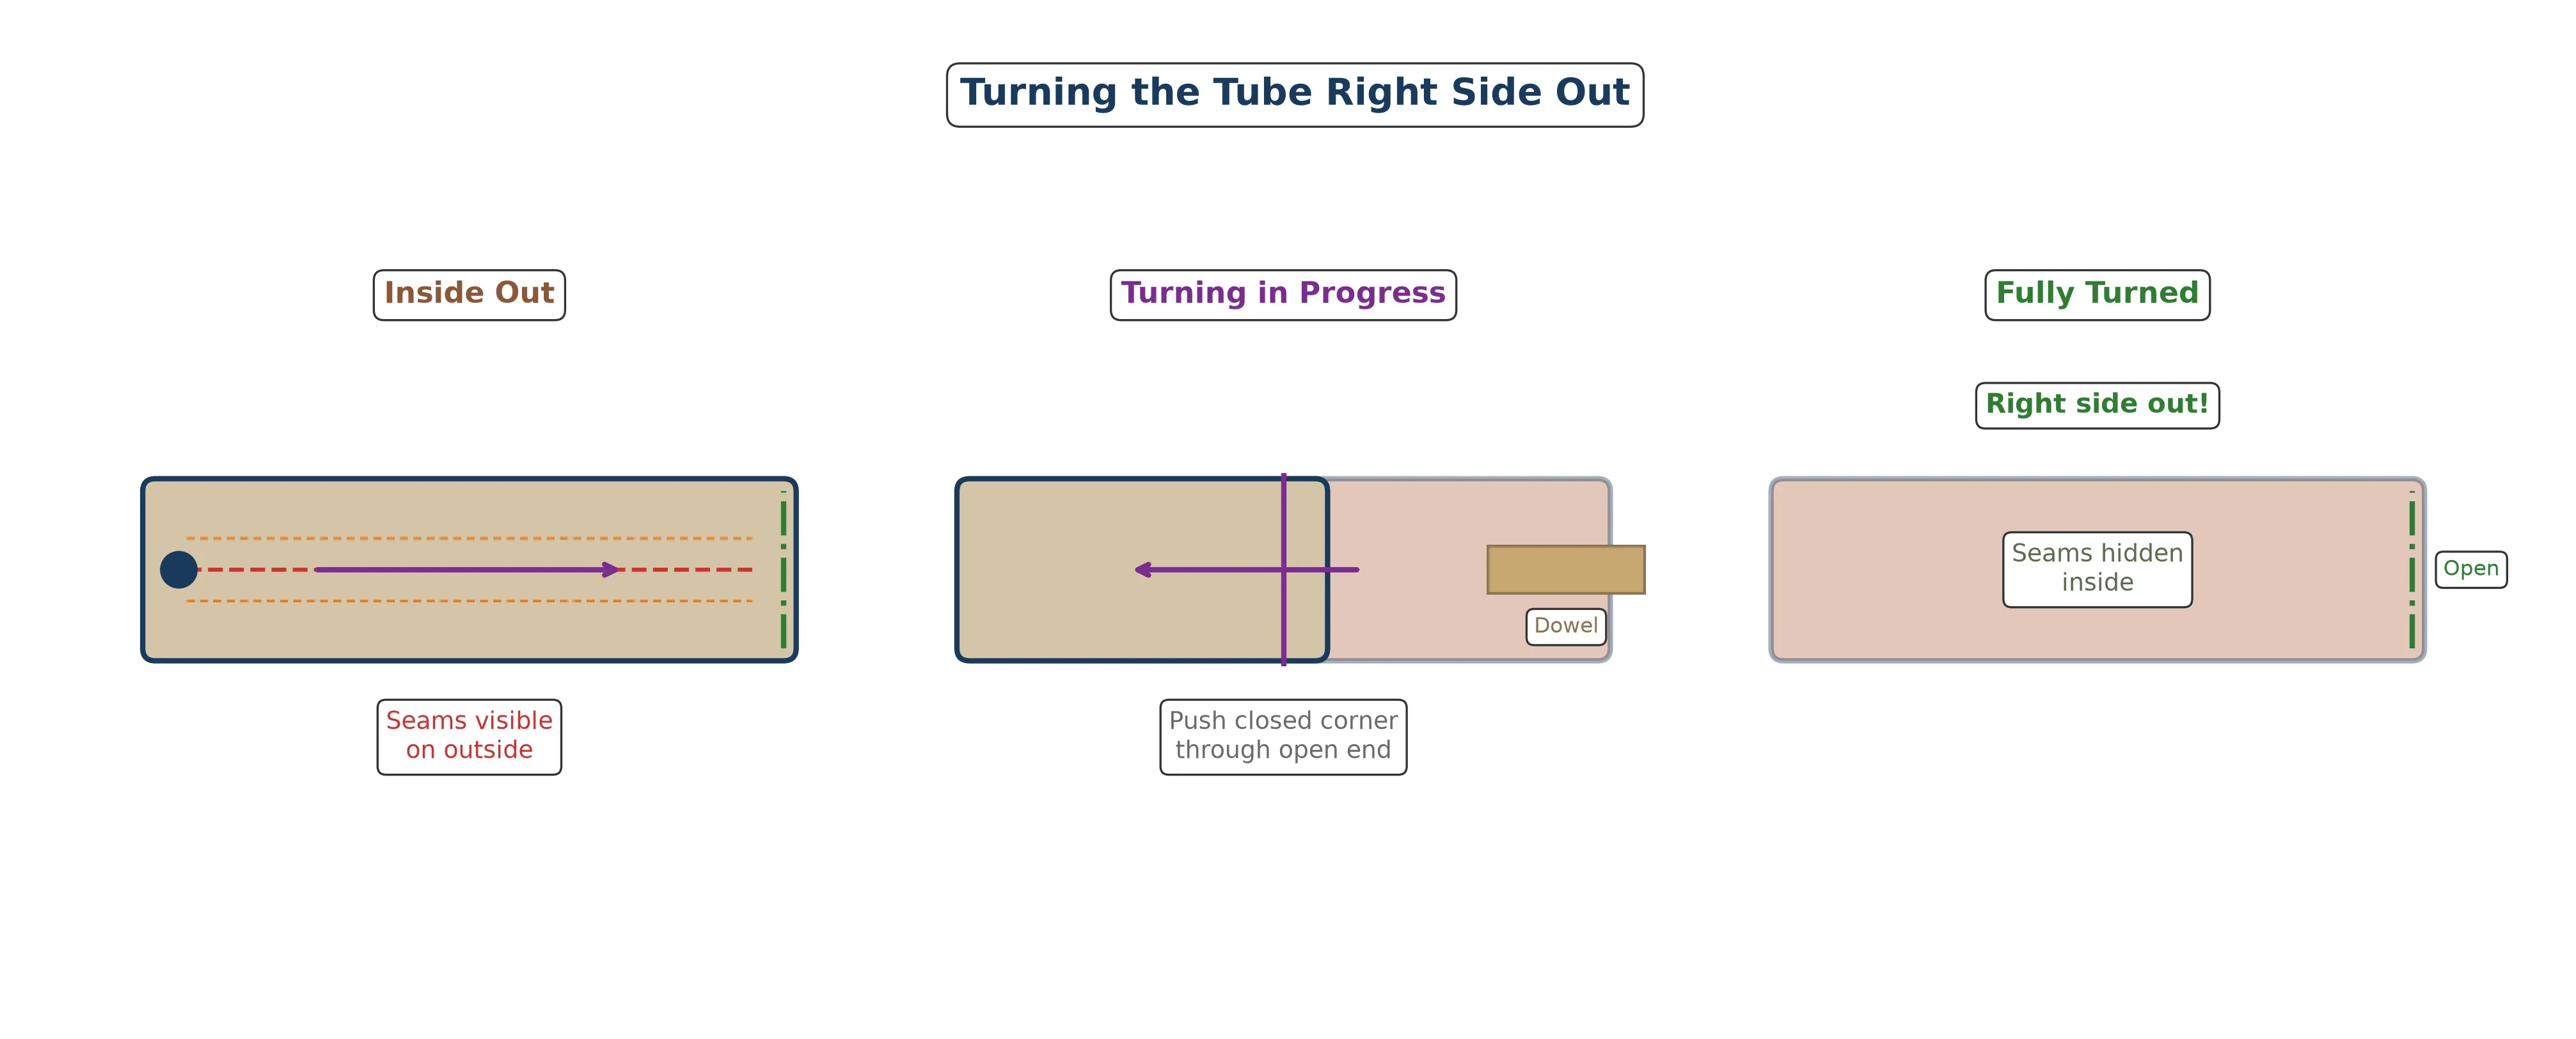
If the closed corner is stubborn, use a long dowel, broom handle, or even a wooden spoon to push it out from the inside. Be gentle — you do not want to poke through the seam at the corner. I have done this exactly once, and it was very annoying to repair.
Once the tube is fully turned, run your fingers along the seams to make sure they are lying flat and the corners are fully pushed out.
Press the Tube
Lay the tube flat on your ironing board with the seam running along the bottom center. Press the entire length of the tube with a warm iron, using steam if your fabric allows it. This step gives your draft stopper a neat, professional appearance and makes the filling process easier because the tube holds its shape.
If you are using a synthetic fabric like fleece or polyester, use a low heat setting and a pressing cloth to avoid melting the fibers. Natural fibers like cotton and linen can handle higher heat and benefit from a good steam pressing.
Fill the Tube
This is the most satisfying step. Place a funnel (or a cone of rolled paper) into the open end of the tube and begin pouring in your filling material. If you are using the 50/50 rice and poly-fill mix, alternate between the two materials, shaking the tube gently between additions to distribute the filling evenly.
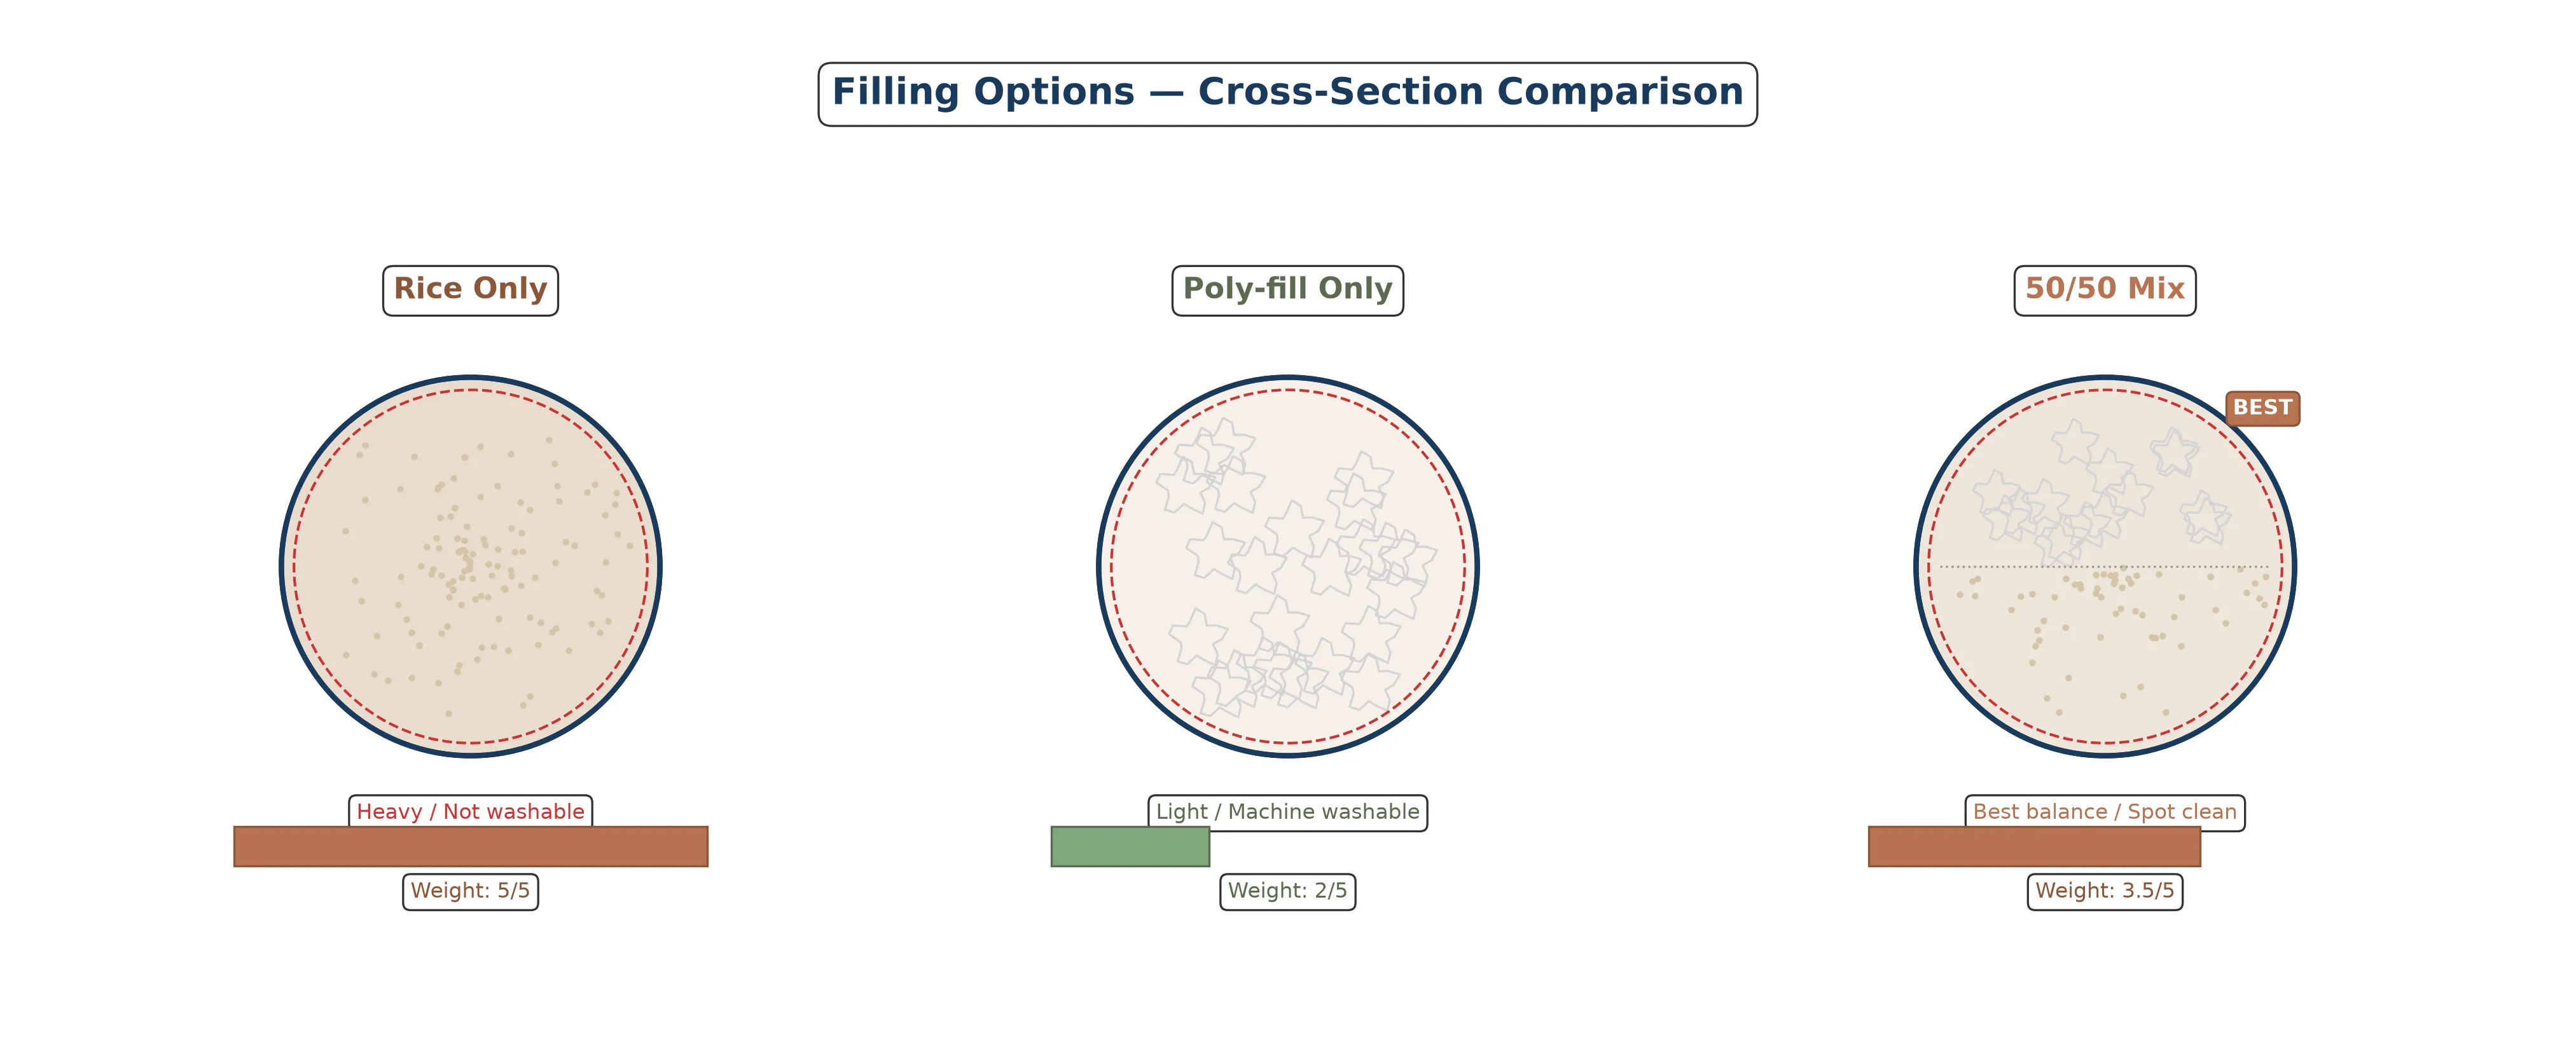
Fill the tube until it is firm but still slightly flexible. You want it to conform to the shape of the floor and the bottom of the door, not sit rigidly on top of the gap. A good test is to lay the filled tube on the floor and press down on it — it should compress slightly and then spring back.
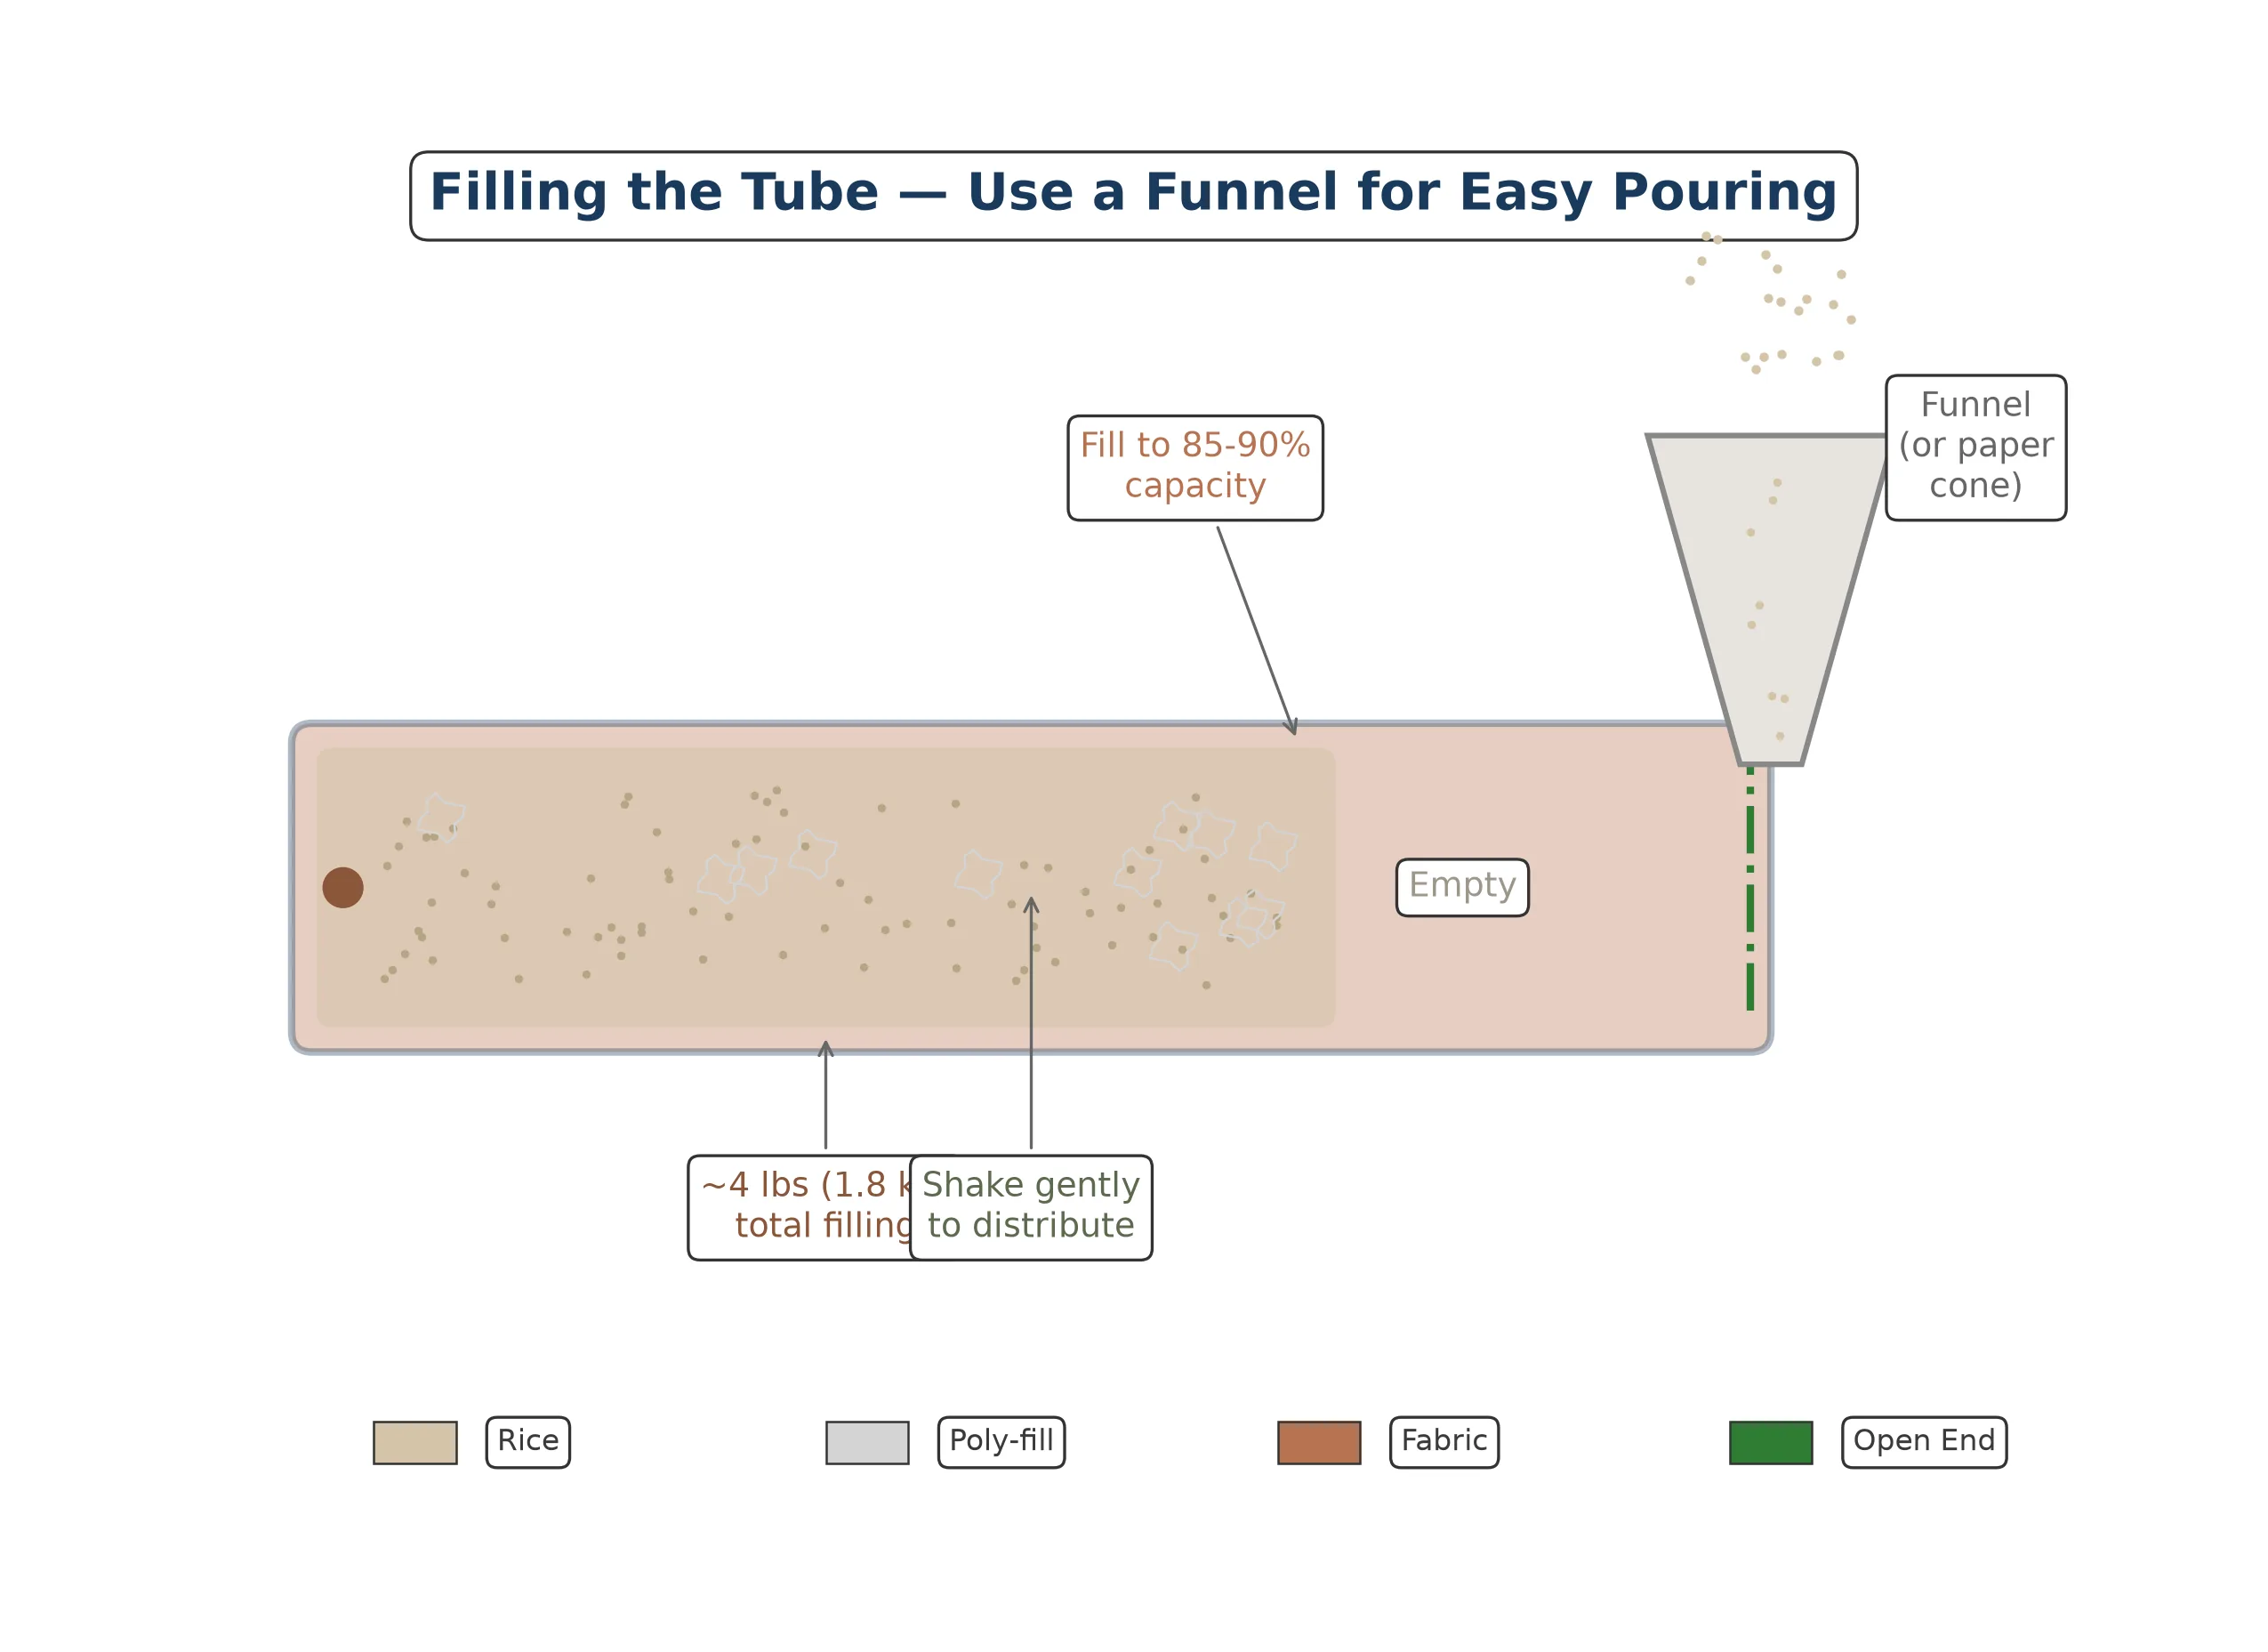
For a standard 36-inch (91 cm) draft stopper, you will need approximately 4 lbs (1.8 kg) of filling. If you are using rice alone, you may need slightly more. If you are using poly-fill alone, you will need less by weight but more by volume, because it is much lighter.
Do not overstuff the tube. An overfilled draft stopper will be too rigid to seal the gap properly and may put stress on the seams. Fill to about 85 to 90 percent capacity, leaving a little room for the filling to shift and settle.
Close the Opening
Once the tube is filled to your satisfaction, fold the raw edges of the open end inward by 1/2 inch (1.3 cm). Pin the folded edges together, making sure the fold is neat and even.
You can close the opening by hand using a ladder stitch (also called an invisible stitch) for the cleanest finish. This stitch hides the thread inside the fold and creates a nearly invisible seam. If you prefer to use your machine, edge-stitch close to the fold with a straight stitch, backstitching at both ends.
Give the finished draft stopper a final press and a gentle shake to distribute the filling evenly. Place it at the base of your door and admire your handiwork!
Pro Tips and Variations
Now that you know the basics of how to make a draft stopper, here are some ways to customize and improve your project:
1. Make a Removable Cover
Sew an inner tube from inexpensive muslin or an old pillowcase and fill that. Then sew a decorative outer cover with a Velcro or snap closure at one end. This allows you to remove the outer cover for washing without disturbing the filling. I do this for all my draft stoppers now, and it makes seasonal cleaning so much easier.
2. Add a Handle Loop
Sew a small fabric loop to one end of the draft stopper before closing it. This makes it easy to pick up and move when you need to open the door fully or vacuum underneath. A 2-inch (5 cm) loop of grosgrain ribbon works perfectly.
3. Double-Sided Draft Stopper
For exterior doors with a large gap, consider making a double-sided draft stopper that straddles the door. Cut the fabric wider (about 12 inches or 30 cm) and sew two parallel tubes connected by a flat fabric bridge. When you place it at the base of the door, one tube sits on each side, and the bridge slides under the door gap. This style moves with the door, so you never have to reposition it. For more weatherproofing ideas, This Old House has an excellent guide to door weatherstripping.
4. Decorative Touches
Draft stoppers do not have to be boring. Try adding contrast piping along the long seam (the technique from our throw pillow with piping tutorial works perfectly here), embroidery on the visible end, or a fabric ruffle along the top edge. If you are making draft stoppers as gifts, monogramming the end with the recipient's initial adds a lovely personal touch.
5. Seasonal Swaps
Make two covers — one in a warm flannel for winter and one in a light cotton for summer (to block air-conditioned air from escaping). The removable cover system makes swapping quick and easy, and it keeps your decor seasonally appropriate.
6. Coordinate with Your Home Decor
If you have already sewn curtain panels or throw pillows from this series, use the same fabric for your draft stopper to create a cohesive, handmade look throughout the room. The table runner from Post 2 also pairs beautifully with a matching draft stopper in the dining room.
Frequently Asked Questions
What is the best filling for a door draft stopper?
The best filling depends on your needs. Dried rice or beans provide excellent weight and block drafts effectively, but they can attract pests if exposed to moisture. Polyester fiberfill (poly-fill) is lightweight and washable but may not be heavy enough on its own. I recommend a 50/50 mix of rice and poly-fill for the ideal balance of weight, flexibility, and durability.
How long should a door draft stopper be?
Your draft stopper should be 1 to 2 inches (2.5 to 5 cm) longer than the width of your door. This ensures it overlaps the door frame on both sides and blocks drafts completely. For a standard 36-inch (91 cm) exterior door, make your draft stopper 37 to 38 inches (94 to 97 cm) long.
Can I wash a homemade draft stopper?
If you filled your draft stopper with poly-fill only, you can machine wash it on a gentle cycle and tumble dry on low. If you used rice, beans, or sand, do not submerge it in water. Instead, spot clean the fabric with a damp cloth and mild soap. To make washing easier, sew a removable inner tube from muslin and a decorative outer cover with a zipper or Velcro closure.
Does a door draft stopper actually save energy?
Yes. According to the U.S. Department of Energy, sealing air leaks around doors and windows can reduce heating and cooling costs by 10 to 20 percent. A draft stopper is one of the simplest and most affordable ways to seal the gap at the bottom of your door, which is often the largest source of air infiltration in a room.
Can I make a draft stopper without a sewing machine?
Absolutely. You can hand-sew a draft stopper using a simple running stitch or backstitch. The seams are straight and short, making this an ideal project for hand sewing. You can also use fabric glue or iron-on hem tape for the long seam, though stitching will hold up better over time.
How do I make a double-sided draft stopper for both sides of the door?
Cut your fabric wider (about 12 inches or 30 cm) and longer to wrap under the door. Sew two parallel tubes connected by a flat fabric bridge that slides under the door gap. Fill both tubes and close the ends. This style straddles the door and moves with it, so you do not need to reposition it every time you open or close the door.
Keep Building Your Handmade Home
Your draft stopper is just the beginning. Pair it with a handmade curtain panel for maximum insulation, or organize your sewing room with a set of fabric storage baskets.
More from Sewing for Your Home
- Envelope Cushion Cover — The Perfect Beginner Pillow (Post 1)
- Table Runner with Mitered Corners (Post 2)
- Fabric Storage Basket — Lined and Interfaced (Post 4)
- Fabric Wall Hanging (Post 8 — coming soon)
Explore Other Series
- Reusable Living: Eco-Friendly Home Sewing (Series 22)
- First Stitches: Straight Seam Sampler (Series 1 — master the basics)